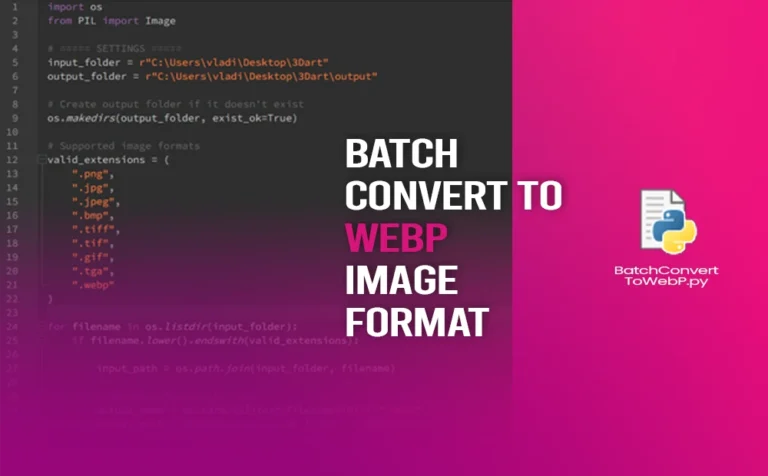
Batch converting images to WebP format through the Windows command line is an easy and fast way to convert multiple images at once.
This is a simple python script that will convert all the images you have in a specific folder and put them in a new folder of your choise. The original images will be intact. Also you have the ability to adjust the quality of your new converted webp images.
You don’t need at all an image-editing software such as Photoshop, Gimp, etc. since this is a python script and runs in command line on Windows.
The extension/formats that this python script supports, in order to convert them to Webp are the following:
png, jpg, jpeg, bmp, tiff, tif, gif, tga, webp
Besides the simplicity of it, i think it’s very helpful, since i found out i use it a lot in my workflow as 3D Artist. So i decided to upload it online and make a post about it.
Note: You can add as many file formats as you want, if you open up the script and add them manually.
Another nice to have python script, Batch resize images, you may find interesting. It can save you a lot of time, trust me, i have been there. If you don’t have Adobe products such as Photoshop or Bridge, that python script is going to save you a lot of time.
Before you Run the Script (Batch Resize Images):
Two things before you run the script:
First: In order to run the script you need Python. So open the command line and type python. After that, command line will prompt you to install Python. Complete the process.
Second: You also need Pillow (PIL fork) library. In the command line type:
python m- pip install Pillow
That’s it, now you can run the script.
Note: If you already have Python and PIL fork, you can skip both steps and run the script, without any issue.
Batch Convert to Webp Image Format Python Script:
This is the python script:
import os
from PIL import Image

# ===== SETTINGS =====
input_folder = r"C:\Users\vladi\Desktop\images"
output_folder = r"C:\Users\vladi\Desktop\images\output"

# Create output folder if it doesn't exist
os.makedirs(output_folder, exist_ok=True)

# Supported image formats
valid_extensions = (
    ".png",
    ".jpg",
    ".jpeg",
    ".bmp",
    ".tiff",
    ".tif",
    ".gif",
    ".tga",
    ".webp"
)

for filename in os.listdir(input_folder):
    if filename.lower().endswith(valid_extensions):

        input_path = os.path.join(input_folder, filename)

        # Change extension to .webp
        output_name = os.path.splitext(filename)[0] + ".webp"
        output_path = os.path.join(output_folder, output_name)

        try:
            with Image.open(input_path) as img:

                # Convert unsupported modes if needed
                if img.mode not in ("RGB", "RGBA"):
                    img = img.convert("RGBA")

                img.save(output_path, "WEBP", quality=90)

                print(f"Converted: {filename}")

        except Exception as e:
            print(f"Error processing {filename}: {e}")

print("Done!")
You can also download it from here.
In order for the script to work in your case, you need to change just few things in the script.
- input_folder & output_folder
- quality of Webp
After you change those line of codes to reflect your specific needs, you just need to double click on that BatchConvertToWebP.py file, and it will run automatically.
After it finished the process, it will create an output folder in the destination you choose and it will save all the newly converted WebP images inside it.
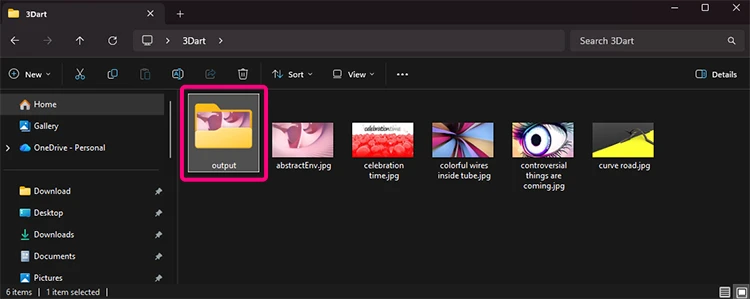
If you have a lot of images, the Batch Convert to WebP Python script will do the heavy lifting for you.