Using track matte in After Effects to recreate The Walking Dead Intro is the main task today. Along the way, you will realize how powerful and at the same time easy this technique is and how much you could accomplish with it. Using track matte you could create very interesting effects with little effort, like the one we will be creating in this post.
Photoshop:
The Walking Dead is a television show about zombies apocalypse. It was one of my favori shows until the main protagonist left the show. After that it’s still a decent show, but not as much as it was previously, in my personal opinion.
We are not going to recreate the whole intro of the show, which is around 40 seconds long. We are only going to recreate the last part. The part where the whole frame transformed into a text, like a video below.
By the way, I really love the whole concept of this particular intro. It has a very interesting story, and a very driven mood and the music is awesome. I just love it.
The basics of Track Matte in After Effects:
A track matte is a process in which you use a top layer to control the opacity – alpha channel from the layer below it. The way to do that is to set for the below layer the TrkMat option to something like Luma or invert Luma. Automatically the above layer will become invisible and now the opacity of the below layer will be controlled from the above layer.
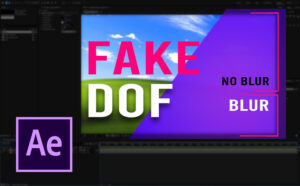
To demonstrate it better see the following example:
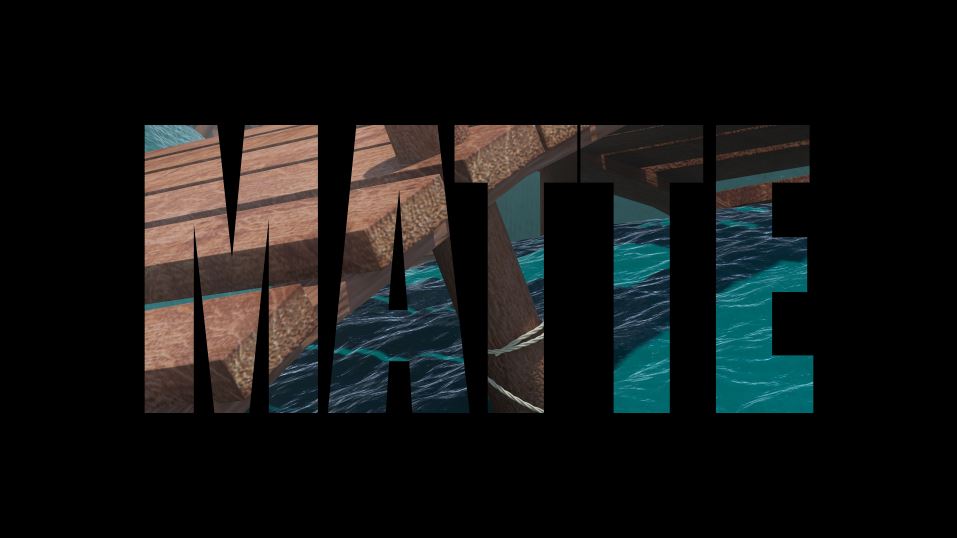

In this example, the picture inside the text “MATTE” is below the Text layer which has been used to control the opacity-alpha channel of the image below. I hope now it’s clear enough.
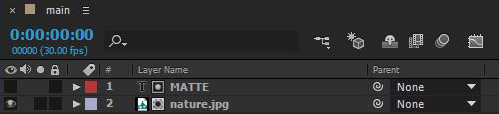
Note: If for some reason you don’t have “Mode” and TrkMat” options, no worries. Just press the F4 on your keyboard.
Tip:
As you can see the process is pretty simple, right! In the above example, we had only a still image and a simple text to go by. We could have something more complicated like a video instead of an image and a font that has some movements, or maybe a shape layer that has an interesting animation on it. You could make pretty interesting stuff with the track matte technique.
Now we have a basic knowledge of how track matte works, let’s jump to recreate The Walking Dead intro of the last part.
The Walking Dead intro:
All right, fill up a new mug of coffee and grab a chair 🙂
Open up After Effects and create a brand new composition by going to composition – new composition (ctrl + N), with the following settings and click ok.
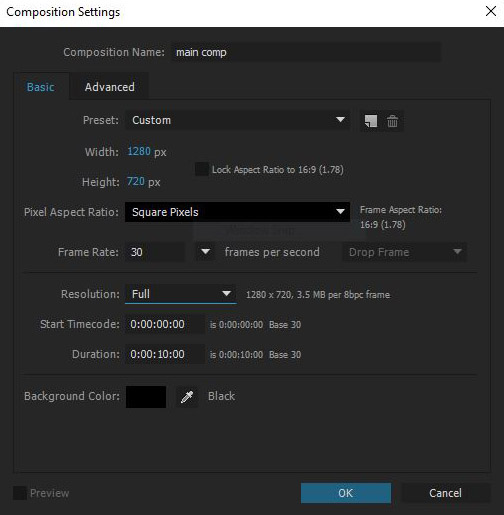
Nothing special about the settings of our composition. HD resolution, 30FPS, and duration of 10sec. Simple stuff and yet official stuff:)
Now, import The Walking Dead last part intro, into After Effects by going to file – import – files.. (ctrl + I.
You could download the file from here.
Drag and put the video file into the timeline. We have a video to work with, cool.
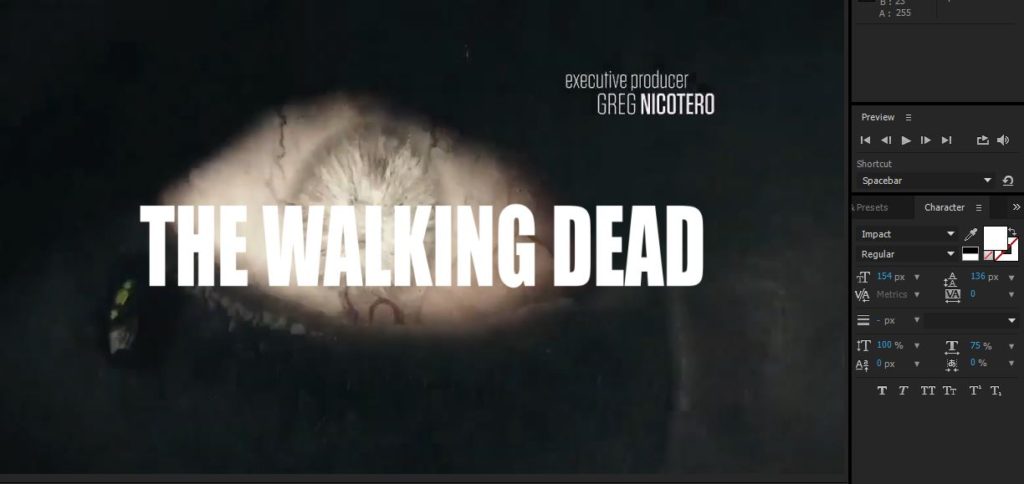
Select the type tool and click on your composition to write “THE WALKING DEAD” phrase. Select the Impact font which is pretty similar to the original font they use and adjust the size of the text to be something like the image below. You could also see, the setting on the right I chose for my font.
Now we have a video and a text layer we can produce the track matte technique, right. So, select the video layer which is below the text layer, and set the option for trkmat to be Luma matte.

Half the work has been done, isn’t that cool, and at the same time extremely easy!
Now we have to animate the text layer in order to be like the original one, right! The concept is at first, the whole video to play in full screen and a few seconds later, in the end, to appear through the phrase “THE WALKING DEAD”.
Text layer animation:
Animation time 🙂
Select the text layer and set a few keyframes for the scale and position paraments. One at 30 frames and a couple frames layer, let’s say at frame 90. At frame 30 make the scale of the text huge, and a mean huge 🙂 The goal here is for the middle letter of the text layer to fill the whole screen without leaving any gaps on the screen. In my case was 5000%. At frame 90 set the scale to 100%, like it was when we created it in the first place.
Set position keyframes to those frames as well. Go at 90 frames and just set a key as it is, in the center of our composition. Then go back to frame 30 and try to fill the gap between text and composition by trying to position the text layer in the “X” axis. The only reason in the first place we put position keyframe in this concept it was because of any gaps the text would leave no matter how much we scale the text from the center.
Also, select all keyframes for both paraments (scale, position) and hit the F9 button, to make the transition from one key to the other more smoothly.

Note: If you try to scale the text layer through scale parament and you get strange results, when I say strange result I mean it’s not scaled up from the center of it, don’t be alarmed. It’s completely normal. it’s because of the Anchor Point of the text layer. When you first create a text layer the pivot point of the text layer is always on the bottom center of the layer. If you want to fix it just select the text layer and then select the Anchor Point tool from the toolbar and relocate the Anchor Point to be in the middle center of the layer and not at the bottom center.

That’s it. This is the final result. Wasn’t it pretty easy!
That’s all about track matte:
As you can see with track matte in After Effects we can make cool stuff with a few steps. Although it was more like a basic tutorial about track matte and the capability it’s bringing to the table, you could make a lot more interesting stuff with it. For instance to animate the individual letters of the text layer or use a pattern to reveal gradually the video layer, a few of them.
I would definitely post another more advanced tutorial about the capabilities and possibilities the track matte has in the future.
You could get more deep knowledge about track matte and masks in general from the official page of Adobe here.
That’s enough for today. See you next time 🙂


One Response