Bake Ambient Occlusion in Maya with the help of Vray renderer is an interesting technique you should have under your belt. The process is quite simple, it can add an extra level of detail to your color map textures. You can take advantage of ambient occlusion texture maps to make your models more realistic, either using them for films or games.
Basically, what we are going to cover in this post is how we can bake an ambient occlusion inside Maya with the help of Vray renderer. And finally, how we set up that ambient occlusion map to our color map inside Photoshop.
You also may be interested in how to create simple color texture maps with the Transfer Maps editor in Maya.
But what is an ambient occlusion texture map, right!
Basically, the ambient occlusion texture map is like deep shadows. When two geometries are overlapping or are too close to each other, those areas will be darker in an ambient occlusion texture map and everything else will be white. You can see an example of a baked ambient occlusion map below, as a texture map, and as applied that texture map in a 3D model. After all, this is what we are going to create in this article.

For more in-depth information about ambient occlusion in Maya, click here.
Prepare our 3D model UVs for baking:
There are two approaches to considering UVs in general before you bake. The two approaches are about the layout of your UVs, depending on your model needs.
- all the parts of your model to have combined UVs (one ambient occlusion map)
- each part of your model to have separate set of UVs (many ambient occlusion maps)
In this post, we will cover only the first approach, we will discuss the second in a later post.
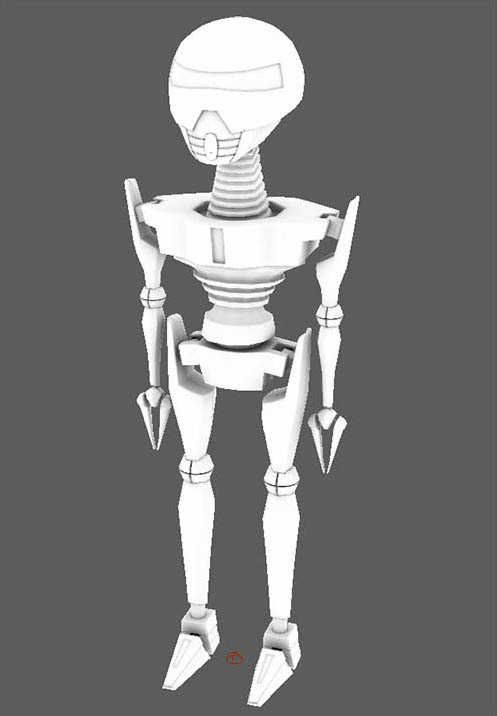
We will be working on the following 3D robot model:
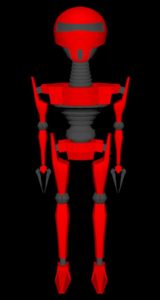
Bake Ambient Occlusion in Maya (one map):
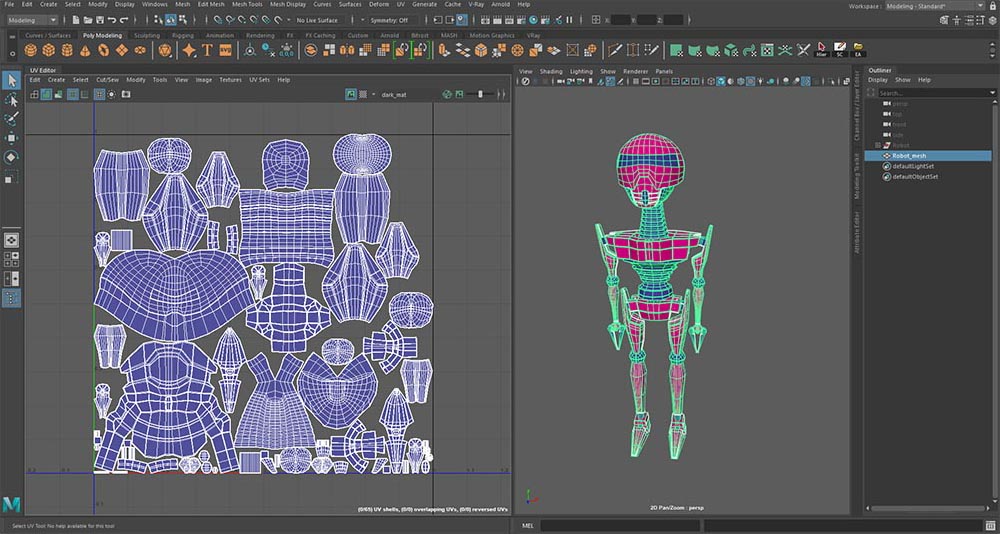
So we have the above 3D model in our Maya scene. If we take a look in the outliner we can see all the parts that our 3D robot model consists.
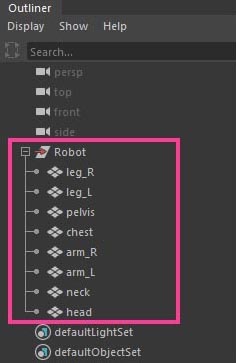
And if we select each one of them and open up UV editor we can see how our UVs are layout. As you can see, every part has its own UV set. As I said, we will address this approach in a later post.
For now, we want to correctly layout our UVs for the entire 3D model. Basically, we want to combine all parts of our model and create all the UVs in one set. So we will bake only one ambient occlusion texture map.
Combine the geometry:
A good approach for combining all parts and later on for making the correct layout is to do it in a duplication instead of the actual geometry. So, duplicate your model and follow the next step.
Select all the parts of your model either from the viewport or from the outliner and go to (Modeling module) – Mesh – Combine. Now there are no parts but one piece of your model.
The next step is to correctly layout the UVs of our model. Open up the UV editor and select your one-piece geometry model. Go to UV editor – Modify – layout. Give some time to Maya to make the operation depending on the complexity of your model and the power of your machine and you are good to go. In the following image, you can see how beautifully and automatically Maya has done the work for us.
Now we have the correct UVs layout, let’s do the actual baking of the ambient occlusion texture map.
Bake Ambient Occlusion in Maya, create the actual map:
In summary the steps:
- assign bake options node
- assign vray mat with dirt map in the diffuse color channel
- add lighting to your scene (if you haven’t)
- baking..
You may also want to Render an ambient occlusion (Dirt) render pass in Maya – Vray.
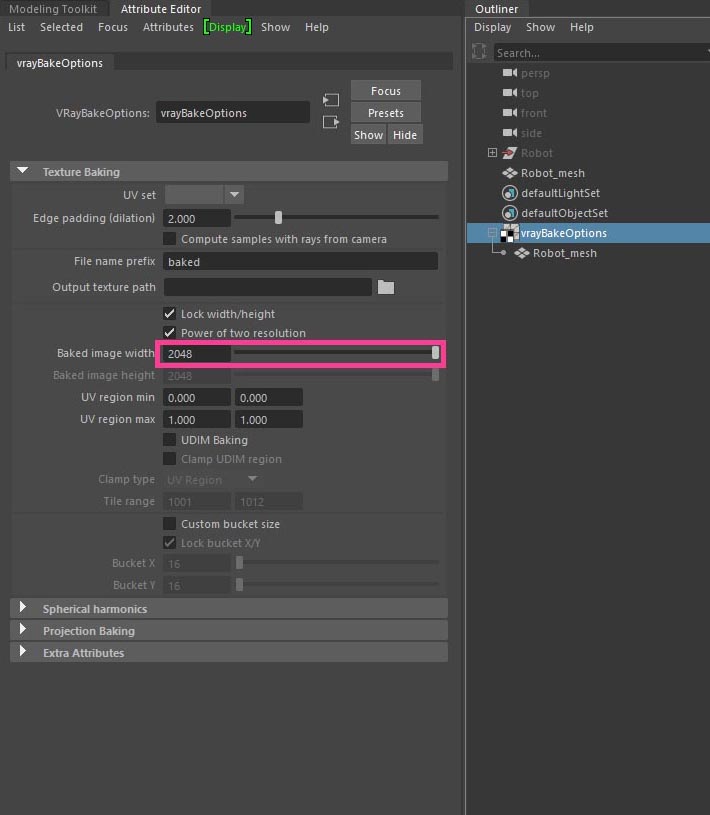
Select your one piece of geometry and go to (Rendering module) – Lighting/Shading – Assign single V-ray bake options to selection. A new VrayBakeOptions node has been created.
Note: If you don’t see this command, make sure you have enabled the Vray plugin from the plugin manager.
Select the new VrayBakeOptions node from the outliner and open up the Attribute Editor. You can play with a few paraments, but the only thing I want to change is the actual resolution of the output image, which is the Baked image width, to be 2K (2048×2048).
The next step is to apply an ambient occlusion (dirt) map to our model. So, select your model and apply a brand new vray material MTL. Go to the Attribute Editor and click on the diffuse color to apply a new Vray Dirt map (ambient occlusion).
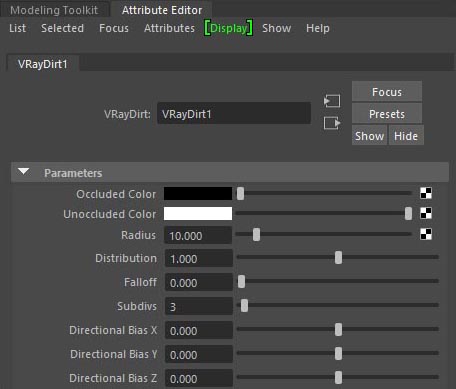
Feel free to make some changes if you like. Like playing with the radius or subdivs paraments.
In order for Vray to bake any information whatsoever, is your scene to have lights. Nothing special, a V-ray dome light is more than enough. So, go to Create Lights – Vray Dome Light.
Now we have set up everything, go to Lighting/Shading – Bake with Vray (option box). A popup window appears. You can see my settings below:
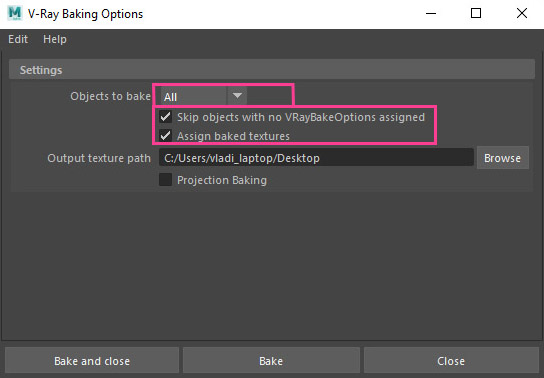
The first checkbox, tells Maya to bake only the objects that have the vrayBakeOptions nodes. The second checkbox, tells Maya after the process of baking to assign the new baked texture map into our model. And of course, the output field is where our baked map will be saved.
Press either bake or bake and close from the above window, to let Maya and Vray start the process of baking. After that, Vray frame buffer automatically appears and starts the process of baking. The process to finish depends, on the power of your machine and of course the complexity of your ambient occlusion texture map (how many details it will have).
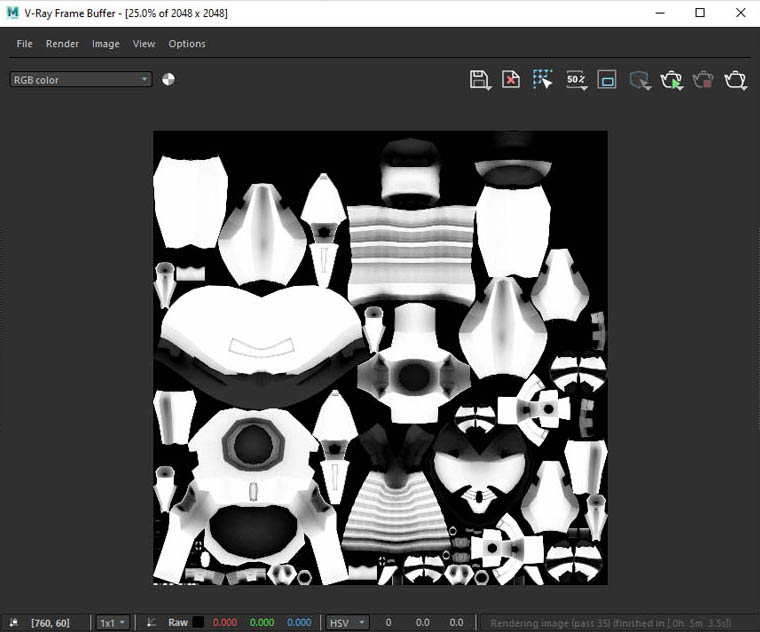
As you can see in the following image, Maya has automatically assigned a new lambert material with the baked ambient occlusion in the color section, as well as created the actual ambient occlusion texture map in the folder you have chosen previously, from the Vray baking options window.
We don’t really need that connection, feel free to delete it, by assigning a new material to your model.
Node: If we haven’t checked the checkbox in the Vray baking options this wouldn’t be the case.
Now we have the actual ambient occlusion map, let’s jump to Photoshop and mix it with our color map.
Set up a baked ambient occlusion texture map in Photoshop:
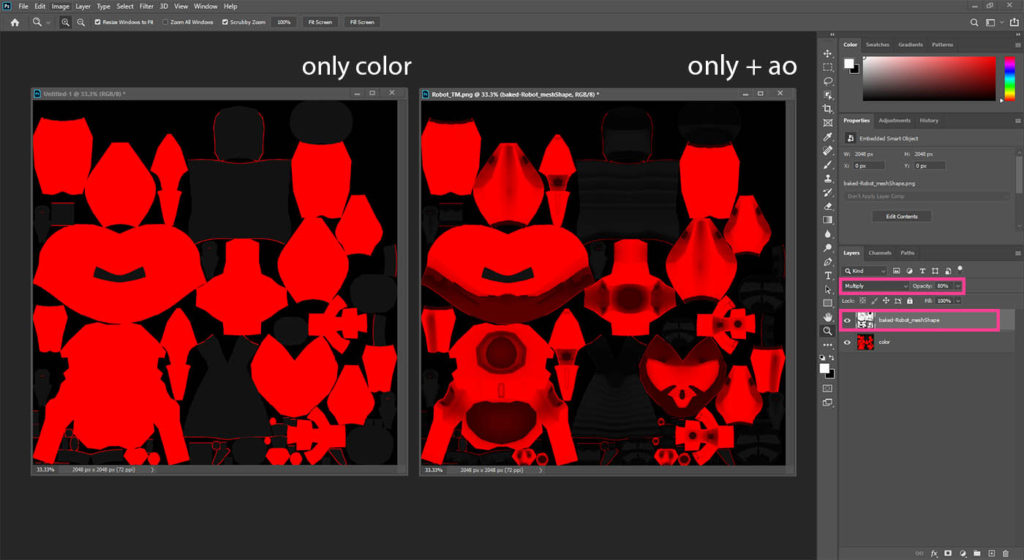
The process is extremely easy. You just have to add the ambient occlusion texture map above your color texture layer and set the blend mode for the ambient occlusion layer to multiply.
In summary:
- open up your color texture in Photoshop
- add the ambient occlusion map we just created and place it above the color texture
- change the blend mode for the ambient occlusion layer to multiply
- play with the opacity of the ambient occlusion layer for the best results
- save your new texture (merged color + ambient occlusion) and apply it to your model
If we go back to Maya and assign that new color + ao (ambient occlusion) texture map to our robot model, we are getting the following result. The two images on the left side are the result of just the color texture map, and the two images on the right side are the result of the mix of color and ambient occlusion map.
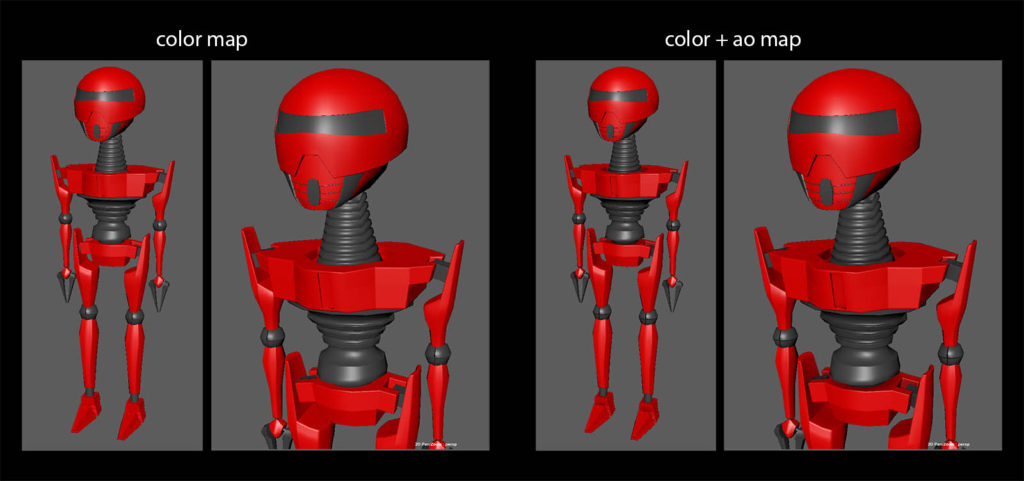
You can see clearly, that in areas when two or more geometries are overlapping or are too close, those areas are darker in color, like deep shadows.
Apply ambient occlusion in Games:
In games, you can use an ambient occlusion texture map in two ways. You can either use it as combined with the color texture map as we explained above or you can use it as a separate texture map and put it in the right slot on a particular material inside the game engine. In the following example, you can see the process of applying an ambient occlusion texture map as a separate map in the Unity game engine.
Unity game engine, the process:
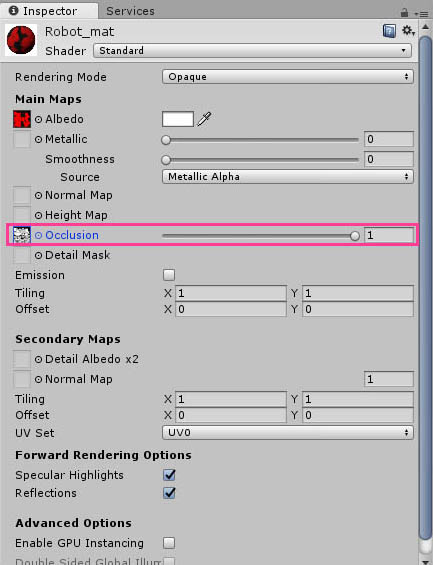
Again, the process is simple enough. After you imported your model inside Unity and extracted both textures and materials, you drag and drop the new ambient occlusion map into your textures folder inside Unity. Then you select either the material itself of your model or your model from the viewport of the Unity and drag and drop the ambient occlusion as a texture map into the occlusion slot on the material of your model. There is also a slider control for the strength of the occlusion map.
In the following image, you can see the before and after of the ambient occlusion texture map on your model:
Summary:
Bake Ambient Occlusion in Maya, is an easy way to create an ambient occlusion texture map, that you can use in other 3D programs (3ds max, cinema4D, etc) and game engines (unreal, blender, etc.) of course.
This approach, to export only one ambient occlusion texture map is quite similar to exporting multiple ambient occlusion maps, which I said I will demonstrate in another article.
In summary the steps:
- prepare your model UVs
- assign a bake options node to your model
- assign vray mat with dirt map in a diffuse color channel
- add lighting to your scene (if you haven’t)
- baking..
- set as multiply blend mode the ambient occlusion in Photoshop
If could also take another approach to export an ambient occlusion texture map from Zbrush.
I hope you enjoyed the article, see you guys in the next post.


7 Responses