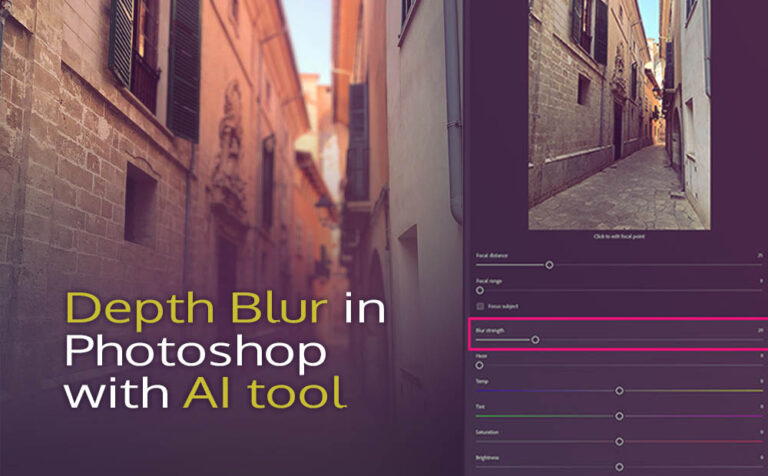
Depth Blur is an AI-enhanced tool under the Neural Filter collection in Photoshop. Can be very handy for numerous use cases, such as portrait, landscape, product and creative stuff. The depth blur filters is a game-changer for photographers and other designers. It produces pretty awesome results with minimal effort.
It’s actually doing the work of a quite expensive camera, to be honest. Although it’s not perfect at the moment, but I am pretty confidence Adobe will get there pretty quickly.
Adobe has integrated advanced AI tools into its suite. Among these tools, is the Neural Filters. And specifically the Depth Blur, which we will cover in this article.
What the Depth blur filter does is pretty self-explanatory. It allows us to create amazing depth-of-field effects with a few clicks, or just one, if we are lazy enough to play with a few parameters.
What is a depth of field (DOF): Basically, is a range of distance within a picture that appears sharp and in focus, compare to the rest of the picture which is blurry. It’s very important concept for a photographer and cinematographer since it’s effecting the main focus and attention of any scene. We can either use it for landscapes or portraits, depending on our needs:
You may want to take a look at how to Create a DOF in Maya – Vray.
Let’s explore a few use cases of the depth blur AI filter in Photoshop.
Use cases for depth blur with AI in Photoshop:
There are mainly four use cases for depth blur filter in Photoshop.
Portrait Photography: Enhanced portraits by slightly blurring the background compared to the foreground, making the subject stand out and giving the picture a more professional look
Landscape Photography: Adding depth to landscapes by simulating the blur that naturally occurs when focusing on distant subjects, creating a sense of scale and distance to our pictures.
Product Photography: Create a focal-attention point on our product by blurring out distractions, making our product the main focus of the picture.
Creative Projects: Use Depth Blur to experiment with artistic effects, such as dreamy, soft-focus backgrounds or dramatic, isolated subjects.
Now we have explored the use cases for the depth blut AI filter, let’s dive into Photoshop and see that cool AI tool in action.
Create a depth blur on any image with AI tool in Photoshop:
In this section, we are going to demonstrate the Depth Blur AI filter in Photoshop in landscape use case.
1 Step (Open your image):
Open your image in Photoshop, by going to File – Open – locate it and press open. Or by drag and drop it into Photoshop.
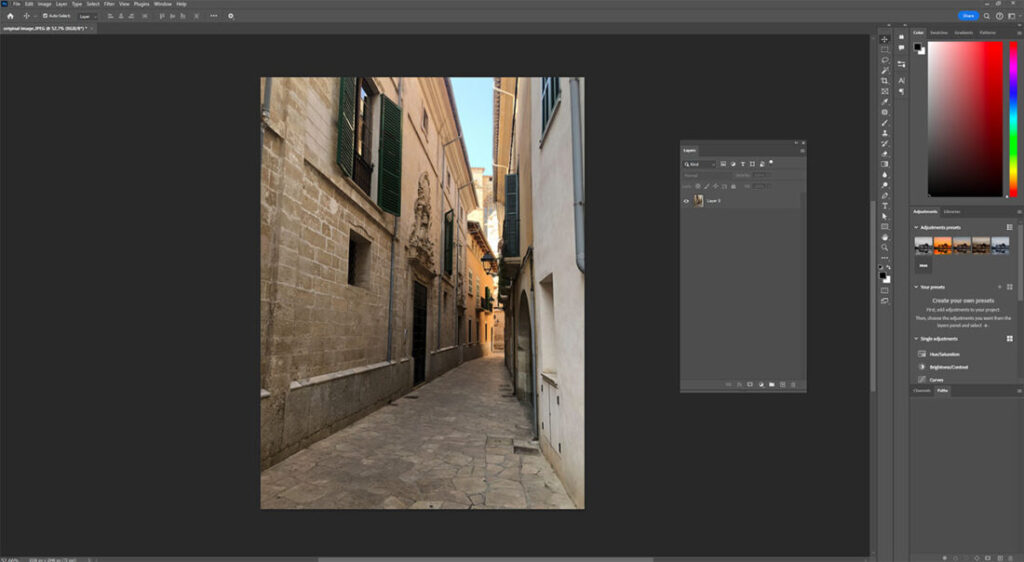
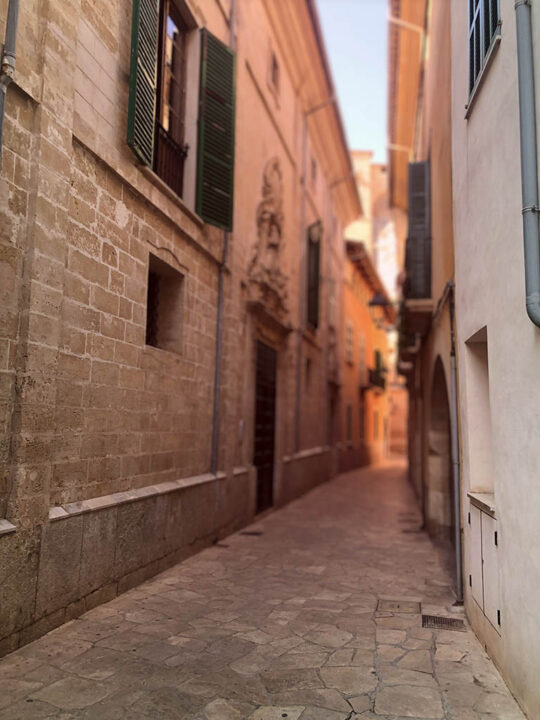
I took this awesome photo in Mallorca, Spain this summer, near the Cathedral in Palma. Bytheway, a beautiful place for summer vacation, I really enjoyed my time there.
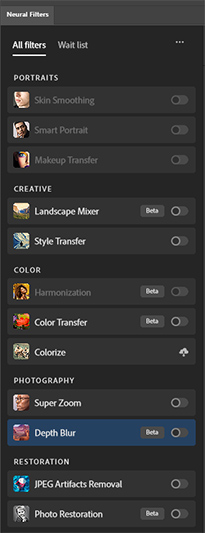
2 Step (Open Depth Blur):
Open up Neural Filter by going to Filter – Neural Filters. We are looking for the Depth Blur filter. If it’s the first time you are going to use it, you first have to install it, by pressing the little cloud icon at the right.
3 Step (Activate Depth Blur):
After you install it, in order to activate-apply it into your image, just press the on-off button next to it. Photoshop will automatically take a few seconds and apply the depth blur to your image.
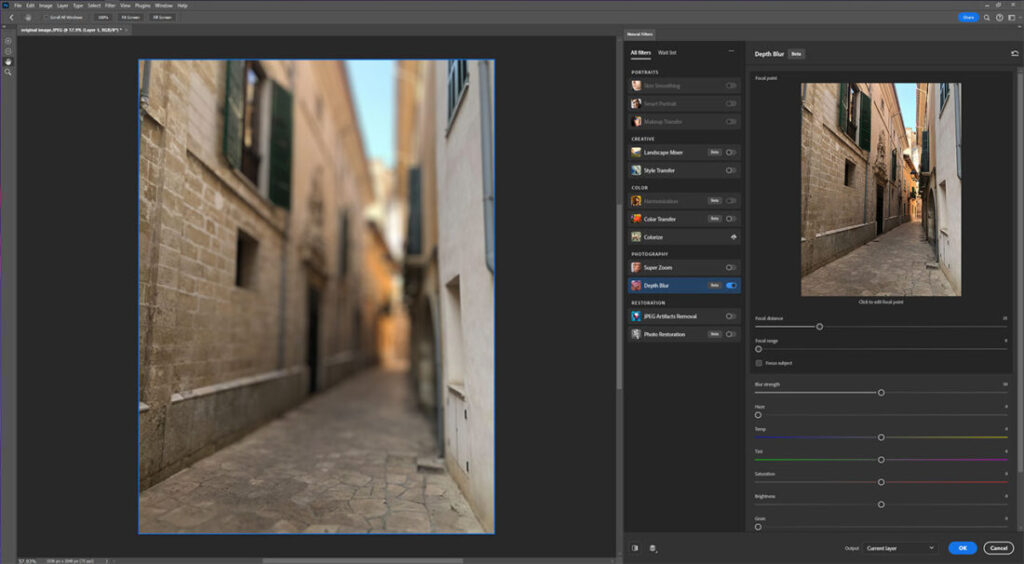
As you can see. Depth blur AI filter it’s automatically “ready” your picture. Which means it;s already knows what parts are in front and what parts are in the back. And with a few adjustments, we could get great results.
4 Step (Adjust Settings):
As you can clearly see, the results is too strong, but is not wrong. If we just lower the Blur strength parament will be perfect. See the image below.
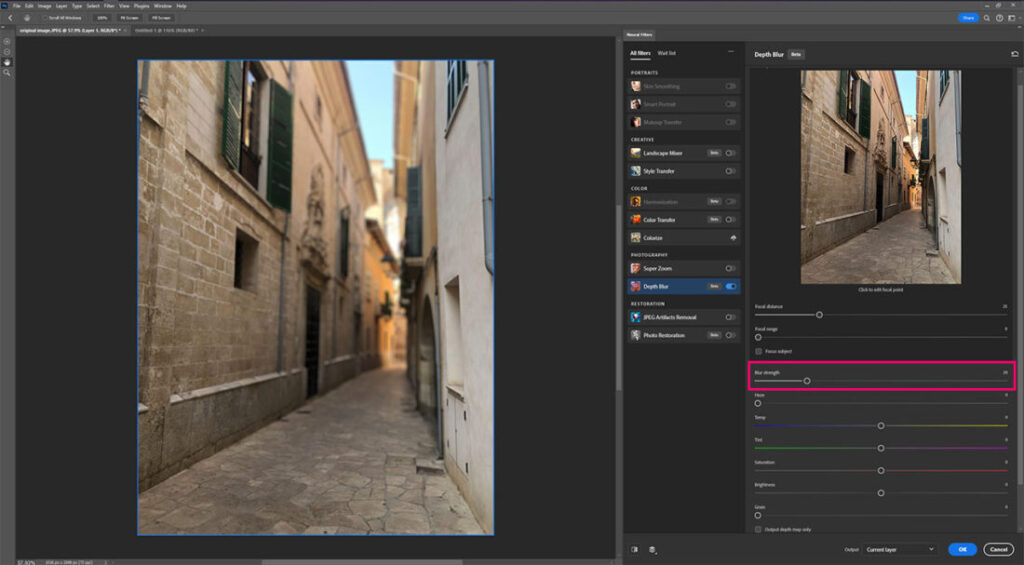
That was the one-click approach.
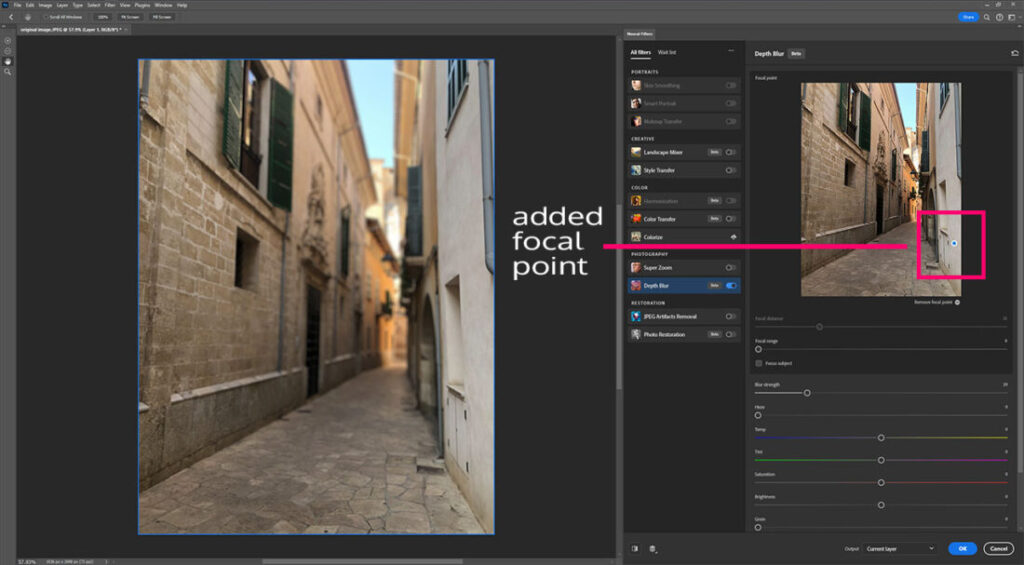
If we want to be more precisely or more artistic, we could set a focal point into our image, from the representation image of the Depth Blur panel, by just clicking anywhere in the image. In that way the focal distance parament will no longer work since we control the distance through our focal point.
5 Step (Fine-Tune):
We can still play with the Focal range parament to shift the shard and blur area.
Feel free to play also with some color correction parameters as well, from the Depth Blur panel. The great thing about those color correction parameters is, that are based on the same depth of field. So any color correction you made won’t apply to the entire image.
When you are satisfied with your result, click OK to apply the Depth Blur effect.
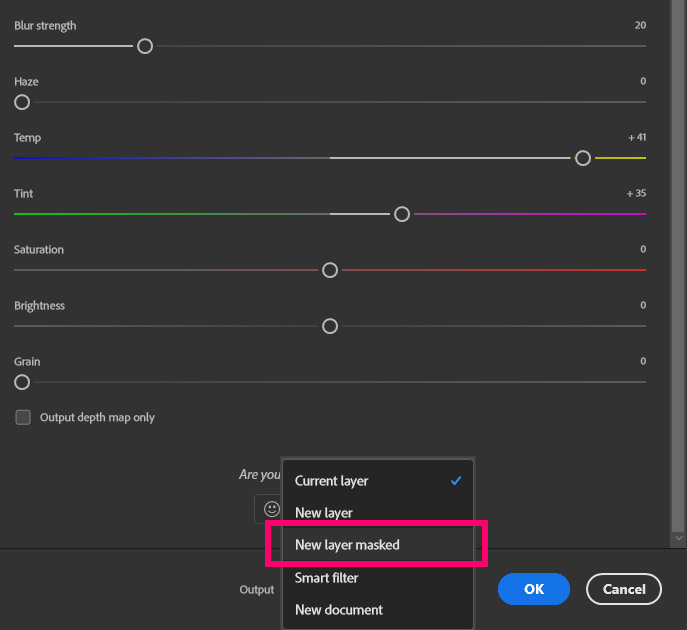
I prefer to set the Output to “NEW layer masked”, so I can have more control over the applied effect later on.
After playing with color correction paraments as well, here is my final result:
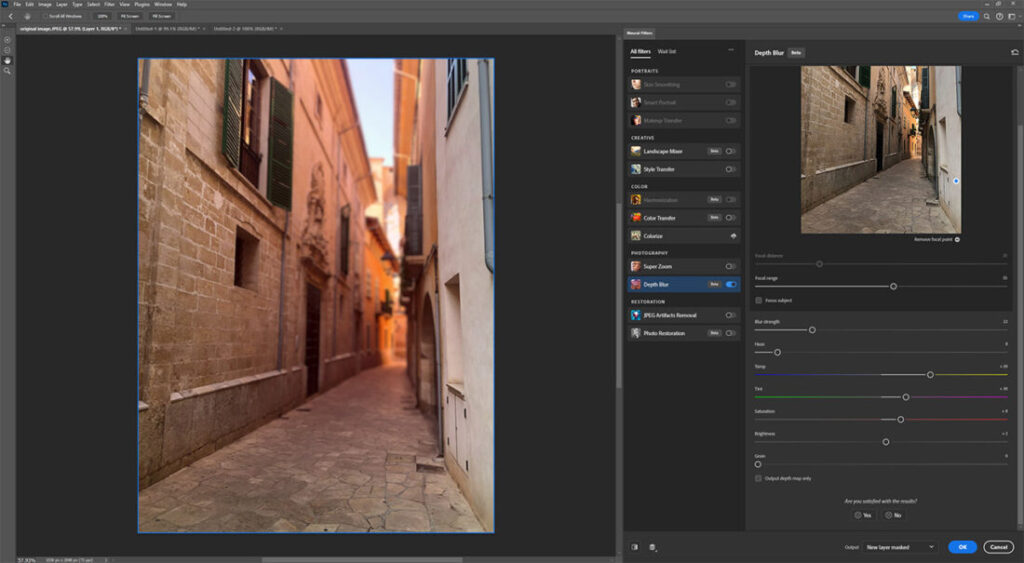
You can see how we started and how we end up in the following image comparison:

I exaggerated the depth of field strength and added an artistic looks as well.


2 Responses
Great article! as a tip I found this Blur image tool very useful https://mate.tools/blur-image