Export multiple images in Photoshop at once, without even opening them up. The way to do that in Photoshop is with the built-in script Image Processor.
Think about how much time you can save during the process. Depending on the number of pictures you want to export, it could be from a couple of seconds to many minutes or even hours if you have a very large package of pictures you want to re-export.
In the name of saving time spirit, you can read a previous article about batch rename photos, if you are interested. As well as export multiple layers from Photoshop and Create a single multi-page PDF with Adobe Photoshop. And lastly, How to create multi artboards in Photoshop.
As you already know Adobe Photoshop is an amazing piece of software. if you want to use all the features it provides, including AI capabilities, which are truly great, you can buy/download it from here.
Another interesting way to batch resize images is through command line on Windows, you may want to take a look at.
Note: Another approach for resizing batch images is through command line on Windows.
What’s the need for export multiple images in Photoshop:
Why someone wants to export a bunch of images from Photoshop! I am pretty sure you already faced this issue in the past. Either you are a photographer and you wanted all those beautiful pictures you took to re-export them for some reason in a different way. Or if you are a 3D Artist, and at the end of the batch render process, you realize you want to add or adjust something on all those images, something like change the resolution of all those images.
If you don’t have Photoshop to help you out, you could have wasted a lot of time, again depending on the number of your pictures, you have for further adjustment.
As I result, I imagine a variety of reasons why someone wants to take advantage of exporting multiple images in Photoshop.
- Export in another format (JPEG, PSD, TIFF)
- Exporting in a different resolution than the original (resize image)
- Adding watermark
- Making color correction changes
- In general, adding any kind of effect on top of the original picture
Another awesome way to export multiple images is through Droplet. Basically, you create an exe file that has been produced by Photoshop to simplify the process of actions. Then can use it over and over again to export multiple images and much more.
How batch export images in Photoshop work:
Now, as I said, you don’t even have to open your images in Photoshop in order to export them. Photoshop will do it for you.
Basically, you have to select the specific folder that contains all of the images you want to export, select a new destination folder, and specify what you want to change – add on those all images, and simply export them.
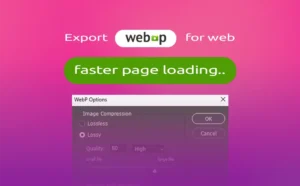
You can find the Image Processor command, from File – Scripts – Image Processor. Click on it. A new popup window appears with a few settings.
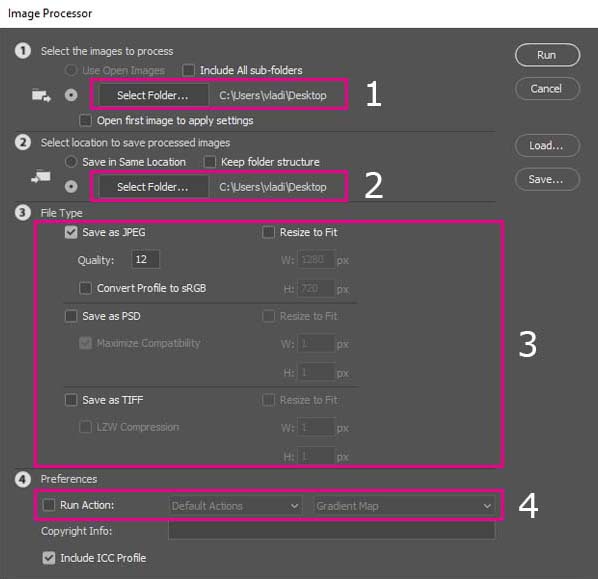
- Select the folder that contains your images
- Select a folder to export your images
- Add and adjust formats and resize your images accordingly, if needed.
- Add an action on all your images
If you are using one of the new versions of Photoshop, we would probably want to enable the legacy “save as” method, to speed up the process of saving.
Batch export images in Photoshop with an example:
Let’s say for example we have a bunch of pictures, and we want to add a Sepia Toning filter on all of them, which is a built-in preset as action in Photoshop. Also, we want to export them in TIFF format. Let’s jump to Photoshop and make it happen.
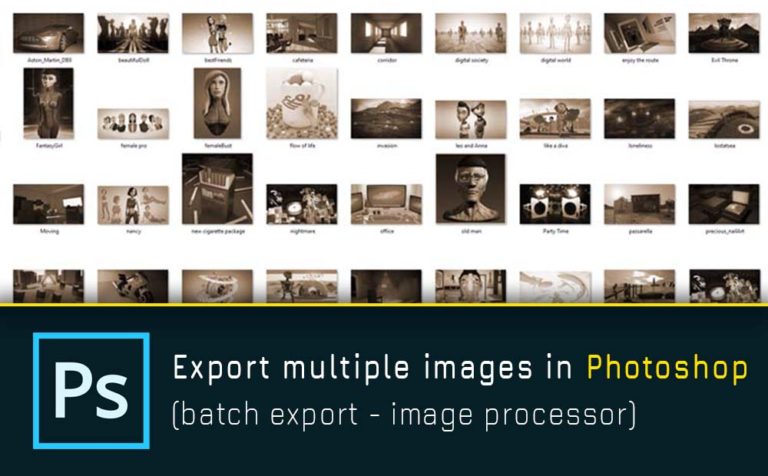
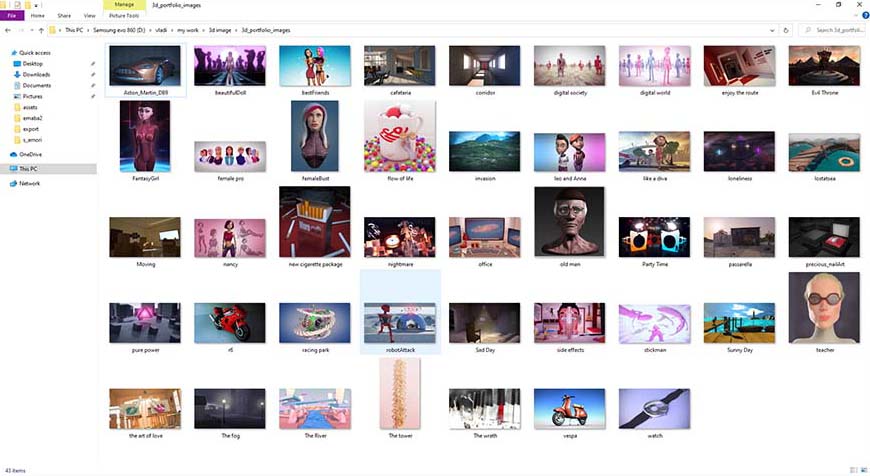
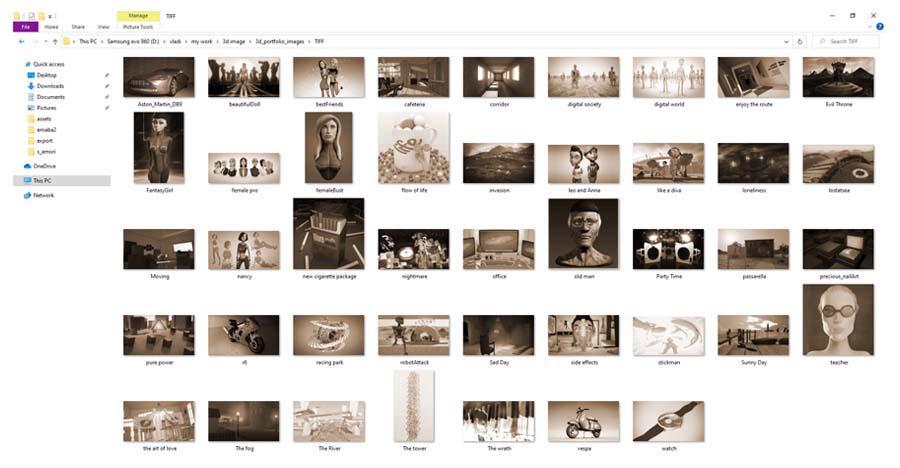
My original images look like this:
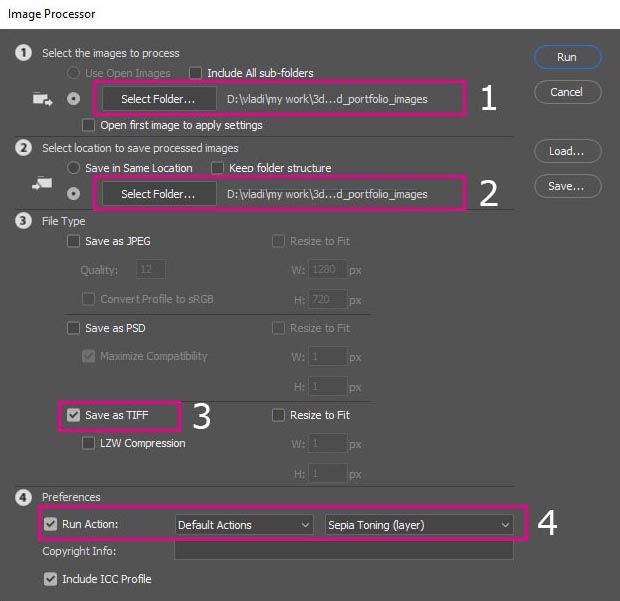
Once again, go to File – Scripts – Image Processor, to open up the popup window. And do the following and click run:
- Select your folder, which contains all of your images
- Select the destination folder, which means where the new images will be saved.
- In the file type, select only save as TIFF format
- In preferences, check the run action, choose the default actions – Sepia Toning filter
After that, Photoshop will really quickly open all of your images, which were contained in the chosen folder and make the necessary changes, and close all the images automatically. You don’t have to do anything. Just let Photoshop do its magic.
A new folder named TIFF, has been created, which contains all of your new images.
My edited images look like this:
Conclusion:
We used the technique of export multiple images in Photoshop with image processor script, to only re-export our images in one format with a predefined action preset (Sepia Toning filter).
Of course, we could export our images in more formats such as JPG and PSD at once. We could also use some of our own actions that we had built over time in Photoshop and choose those actions instead of a predefined preset. And lastly, we could resize our images before we re-export them through the same image processor window.
As you already know, Photoshop is an amazing piece of software. We can do all sorts of things with it. You may wonder, can you also do video editing? The short answer is yes. For the long answer read here.
We can do all sorts of things with Photoshop. Like video editing, 3D rendering, removing backgrounds, creating mockups, creating seamless texture maps, creating a GIF file, creating patterns, and a bunch of other cool stuff.


9 Responses
The way you put together the information on your posts is commendable. I would highly recommend this site. You might also want to check my page YV6 for some noteworthy inputs about Web Traffic.