Making a pattern in Photoshop is quite a simple method, we can achieve it with a few simple steps. It’s a quite useful skill for all kinds of designers and artists. Patterns give complexity to graphics and we should use them when it’s needed. We can use patterns in a variety of ways, from just backgrounds to adding texture to our images.
In this article, we will just cover how to make a simple pattern in Photoshop. In a later article, we will cover how to blend a pattern with a background image.
We can follow the same process to make a much more complex pattern. The core of the process is exactly the same.
Since we are planning to use our new pattern with a great number o scales (blending mode, pattern options), we will set the dimensions of our document to be small. In case we wanted to use our new pattern 1:1, without scale, it will be best practise to design our pattern in a larger document.
So let’s open up Photoshop and get ready to create a pattern.
How to make a pattern in Photoshop:
The steps for making a pattern in Photoshop are below:
1 Step (create a new document):
In order to create a pattern in Photoshop we have to do that by creating a brand-new document with small dimensions (16×16, 32×32, 64×64, 128×128, etc.)
So, go to File – New (ctrl+N). In the New Document window, set the Width and Height to 64 pixels. Change the format of the measure to Pixels. Also, set the resolution to 72 pixels, and the color mode to RGB Color, 8-bit. Lastly, set the background contents to white and click Create.

2 Step (create the pattern design):
For the creation of our pattern, we can use any kind of tools that Photoshop has to offer for that matter. We can use the brush tool, pen tool, any kind of shape tool, custom shape tool, etc. In this case, we are going to use the ellipse shape tool, so we can make a simple circle pattern.
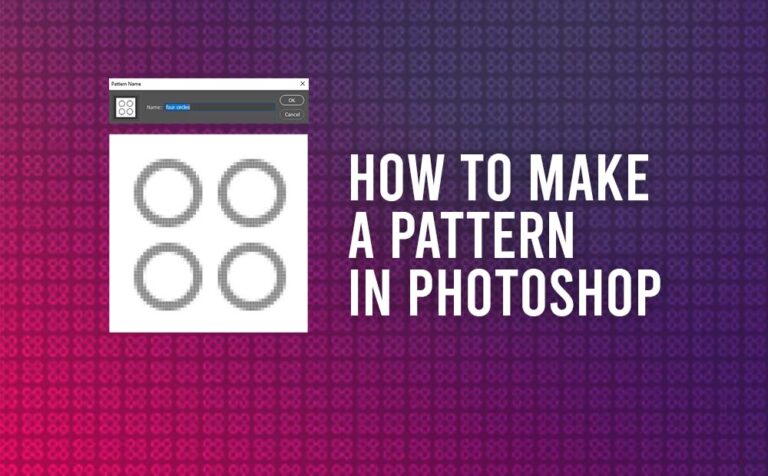
So select the ellipse shape tool (U) from the toolbar in Photoshop. Try to make four circles and place them in the center of the document, like the image below:

Note: The reason that our four circles look pixelated is because we created our document in small dimensions (64×64 pixels) from the start. The reason we did that, is because we will repeat the above pattern with a great number (scale). And in that case, the pattern will be quite small to notice that is pixelated. If we planned to repeat our pattern with a lower number, in that case, would be wiser to start our document in bigger dimensions, so it wouldn’t look pixelated.
3 Step (Define Pattern):
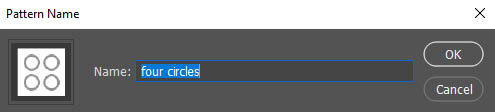
After finishing the creation of our pattern, it’s time to save it. And the way to do that is by going to Edit – Define pattern..
In the new pattern window, just give it a name for future reference and click ok.
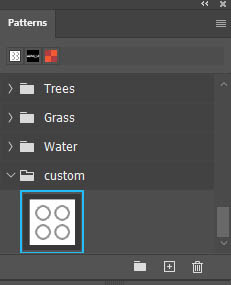
That’s it. Now we have our custom pattern in the Pattern palette in Photoshop. To verify it, go to Windows – Patterns and we will find it at the bottom of the list.
Organizing pattern in Photoshop:
When we create a new pattern in Photoshop, that pattern adds permanently to our pattern collection.
As we already see, by default, when we create a pattern, Photoshop put it at the bottom of the Pattern list. If we find ourselves making a lot of patterns, is a good idea. to create a folder(s) and put them inside accordingly for organization purposes.
For that purpose, we can use the icons on the bottom of the pattern pallet, to create, delete folders for our patterns.
Applying the pattern in Photoshop:
The steps of applying our new pattern in Photoshop:
Steps:
- Create a new much bigger document let’s say a FullHD (1920×1080).
- Select the default layer and unlocked it
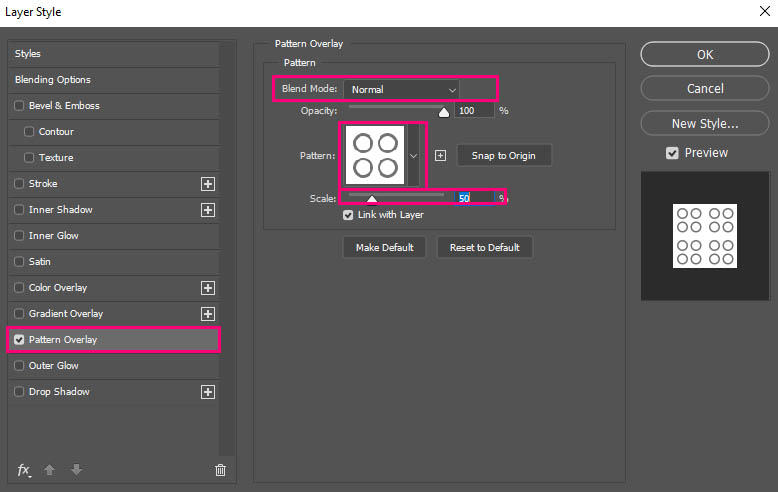
- Right-click on it and select Blending Options
- Go to the pattern Overlay section
- Select our new pattern from the list of patterns
- Set the slider scale around 50%.
- Make sure the pattern Blend mode is set to normal
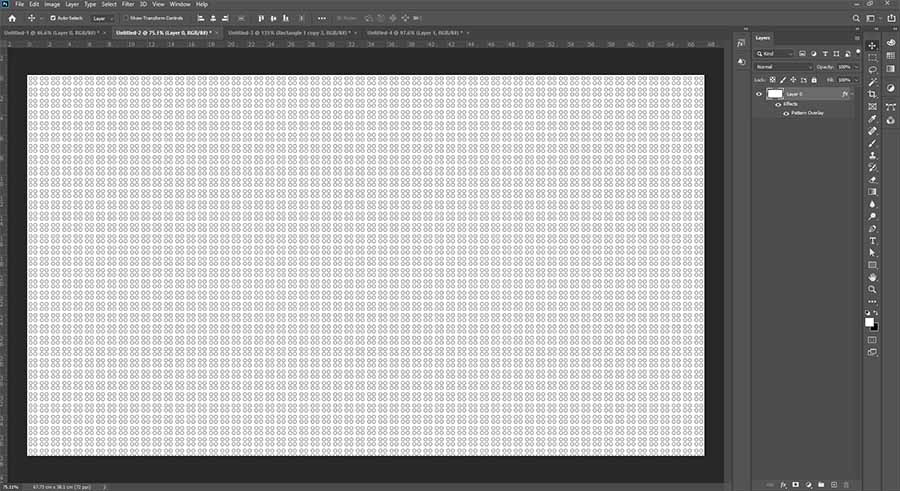
The final result of our pattern:
Bonus tip, create the pattern in Illustrator:
We could also create our design pattern in Illustrator, and then send it to Photoshop, in order to save it on the Pattern palette.
You can find more about this approach in an older article: Transfer Vector graphics from Illustrator into Photoshop.


One Response