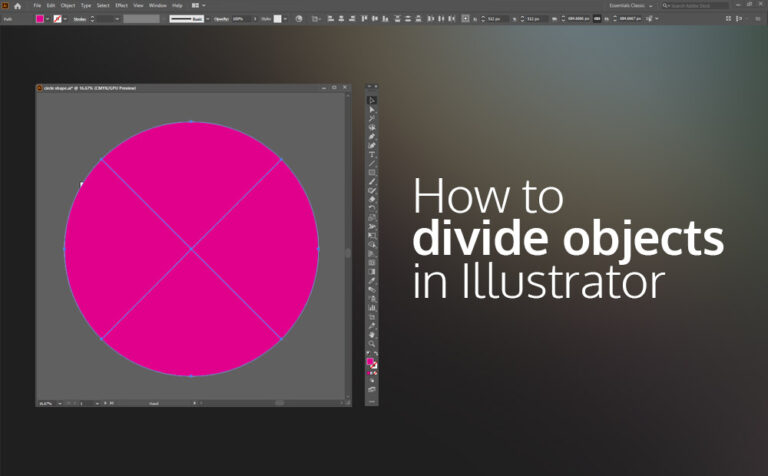
Divide objects in Illustrator can be accomplished pretty easily with the command Divide objects below. Dividing objects in Illustrator is quite a simple process, which can be used to just divide a shape, or to create more complex and sophisticated shapes.
We can have access to the divide object tool by going to Object – Path – Divide objects below.
In order to divide an object we must select the path that it will be used in order to divide the below shape. It could be anything from just a simple line path to a more complex path shape.
Interested articles about Adobe Illustrator:
- How to use Envelope distort in illustrator (mesh grid)
- How to Recolor Artwork in Illustrator
- Adobe Illustrator Export Image: Dimensions off by 1 pixel
- How to fix missing linked files in Illustrator
- How to make a custom brush in Adobe Illustrator with ease
Divide objects in Illustrator, the process:
Let’s say we have a circle, and we want to divide it into four pieces, like the image below. The goal here is to create two separate path lines and after selecting each one of them at a time and running the Divide objects below command, we divide the below shape.
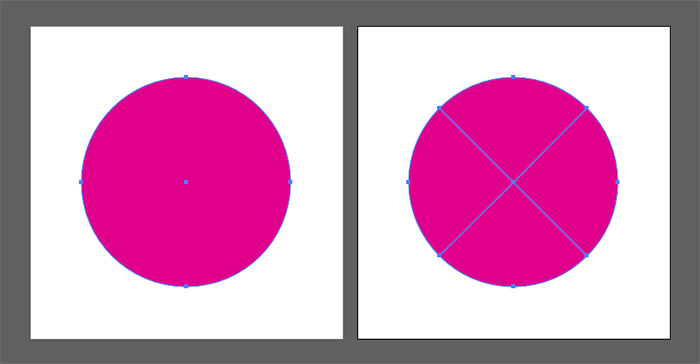
On the left is the default circle and on the right is the same circle divided into four pieces. So let’s see how we can accomplish it.
1 Step:
Make sure you have turned on the smart guides (ctrl + U), from VIew – Smart guides.
2 Step:
Select the line segment tool (\ for shortcut) and go to the center of your artboard and while you press ctrl + alt, click and grad with the left mouse until you exit the circle shape, so the new line is slightly outside of the circle. Like the image below:
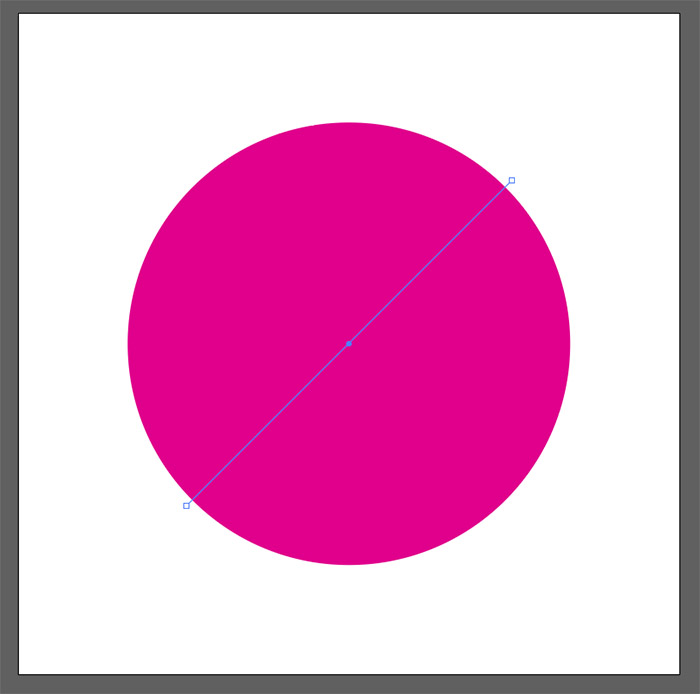
This line we just created, doesn’t have to have a stroke property, it can work just fine as a path as it is, for the purpose we want it.
3 Step:
Select the line path we just created and duplicate it. So select it and go to Edit – Copy (ctrl + C) and Edit – Paste it in place (shift + ctrl + V).
Note: Paste in place, is basically pasting the copy at the exact position from the copy one.
4 Step:
Select the duplicated line path and go to Object – Transform – Reflect. Set the Axis to Vertical and click ok.

5 Step:
At this point, we have two line paths and a circle below. In this step, the divide objects come into place.
Select the first line paths and go to Object – Path – Divide objects below. Make the same process for the duplicated line path.

That was it. We just divided an object with a few line paths, which we used as a guide for that matter.
We can now separate them from each other if we want it. Like the image below:

Conclusion:
In our example of dividing an object into pieces, we made a pretty simple one. We can use this tool to make much more complex shapes if we want to.
One thing I forgot to mention, is as we create the paths which later on will be used in order to divide the object. A good idea is to give them some stroke, so they can be more visible for selection. That will definitely work without interfering with the process of dividing an object at all.