Brushes in Adobe Illustrator are great but in a way limited. The good news is that Adobe had already thought about it, and has provided the user with great ability to overcome it, by creating custom brushes.
I think it was from the beginning, but I don’t know for sure. I am not that long in the industry 🙂
Whether you use a mouse for your brush stroke or a tablet – pen you going to find the custom brush process quite powerful, and extremely easy to use.
If you don’t have Adobe Illustrator, and you want to experiment with it, you could download the free trial version of 7 days from here.
Why use custom brush in Adobe Illustrator:
In order to answer that, I have to try to explain what is brush inside Illustrator.
Brushes in Illustrator unlike in Photoshop are vector graphics, not pixels. Created in a mathematic algorithmic way. I am not going to get deeper into computer science but basically, brushes are preset from custom brushes and patterns, created by Adobe. Thank you Adobe for saving some time for us, we really appreciate it 🙂
So, why use a custom brush?
You don’t want to stack only with the existing brushes inside Illustrator, they are limited as I already said. If you are a professional like an Illustrator for example, and you want to create a concept character but you find out that existing brushes don’t allow you to make the desired stroke you have in mind, it’s time to re-think the custom brush and adapt the process, immediately.
In my opinion, is absolutely necessary to use custom brushes all the time. It gives you flexibility, precise and you can achieve great things in the perspective of creativity. If you already use them, you get the point, right! It’s so much easier to draw the best stroke in our work and to create some interesting shapes and patterns with the same method.
The process of a custom brush in adobe illustrator:
The process as I already said is quite easy, with a few steps that are important in order to have the best result.
So let’s dive in..
I assume you already open Illustrator and had already made a new blank document, right!
Take the ellipse tool (L), and draw a perfect circle. The size is matter, but in this exercise let’s assume it doesn’t. Also, make sure the new shape you draw has only fill and not a stroke. Grab the direct selection tool (A), select your circle, and move the anchor point in the right direction, like in the image below.
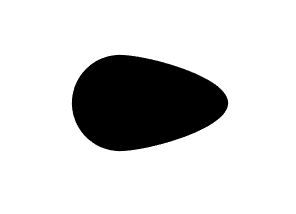
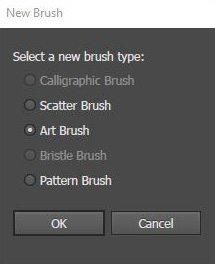
So, you are getting an oval shape. Now make sure you have clear access to the brush pallet on the interface, so it can be easy to select your oval shape and drag it into the brush pallet, and release. A pop-up window appears. Select the art brush option and press ok.
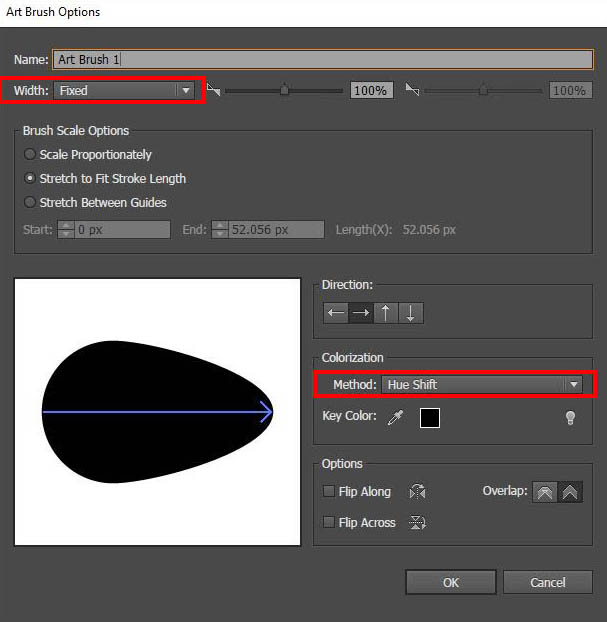
A new pop-up window appears with a bunch of settings to play with. Set the width to fixed and the colorization method to Hey Shit. We chose this colorization method, in order to have the ability to change the color of our brush later on if we wish to. It’s good to have freedom, right! You can also play with other settings as well. Such as with the direction for example. You can choose in what direction the stroke would be formed when you draw strokes.
That’s it. You finish, you made your first custom brush inside Illustrator.
One important clarification:
You can always come back in this dial box and change things, by double-clicking on the particular custom brush of yours through the brushes panel.
This feature works in a dynamic way. Let’s say you have created a custom brush and already draw some strokes, right! And during the process, you realize that is not the brush you want it to be. So, if you change something in this pop-up window, Illustrator will ask you if you want the already strokes you have made to adjust with the new settings. The choice is yours 🙂
Combined custom brush:
As you already see, the process of making a simple custom brush is pretty easy, right! Now, what about, combined custom brushed! Where things are getting quite interesting.
The process is exactly the same as creating a simple custom brush, but the outcome could be very creative. The only limit is yourself 🙂
The process:
Create two perfect circles with the ellipse tool (L). Grab the direct selection tool (A), select your circles, and move the anchor point in the right direction for one and in the left direction for the other. Like the image below.

Now, select the two new shapes and drag and drop them into the brush panel. The same process (Art brush and settings window) pop up. Act accordingly as in the previous steps.
After one minute of using only this custom brush, I draw some lines I came up with this simple character sketch..
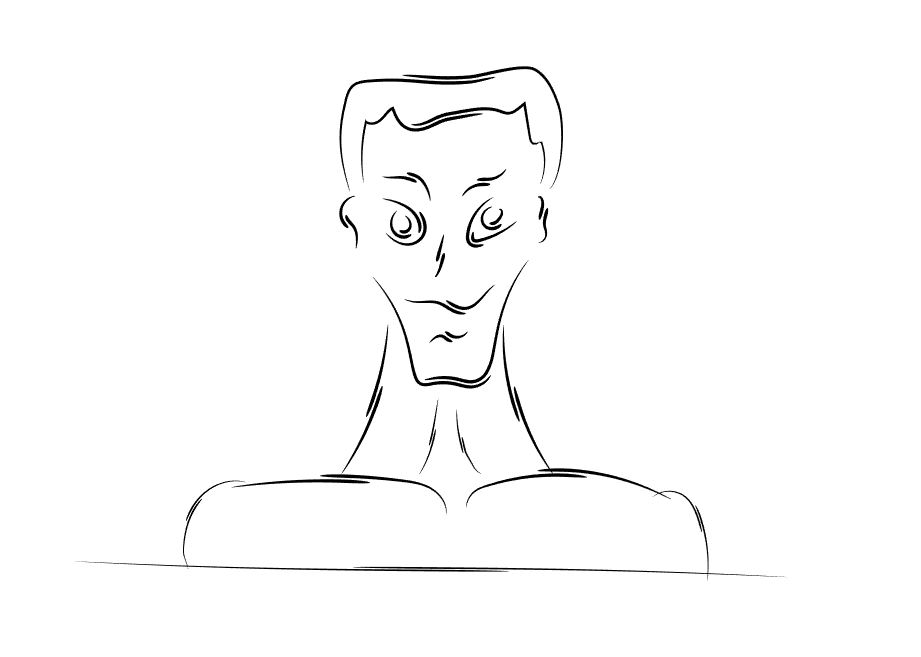
I would love to see yours 🙂
Another cool thing you can do with brushes, in general, is to attach a brush to a primate shape (circle, box, triangle, etc.) by simply selecting your shape and go to brush and selecting the new custom brush, like the image below.
Next level of custom brush, Patterns:
The next level of the custom brush is through patterns. You could create very interesting artwork with patterns with ease. Again the only limit is yourself 🙂
The process:
If you followed the previews exercise, I assume you have a bunch of primate shapes in your artboard right now. If now, you could make some real quick.
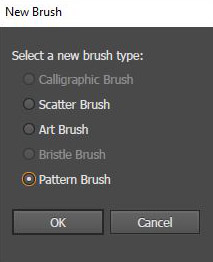
Select all of the shapes you have in your artboard and drag and drop them into the brushes panel once again. A new pop-up window appears “new brash”. This time select the pattern brush.
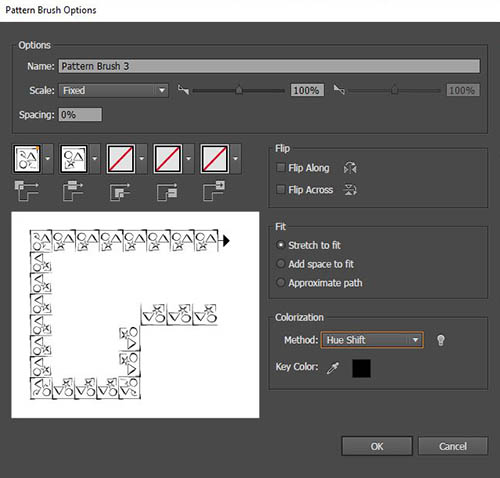
A new pop-up window appears once again with a lot of options to play with. I am changing only the colorization method to Hue Shift and hit ok.
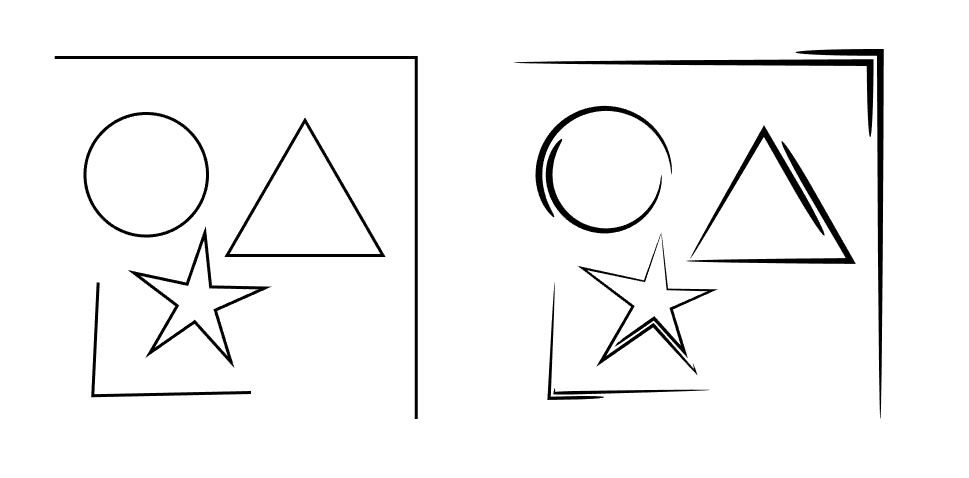
Some simple but interesting results I got..
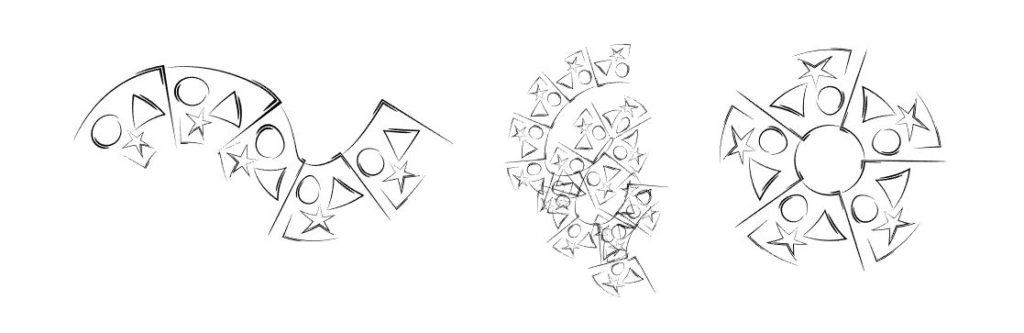
Remember you can also attach a pattern custom brush into a primate shape like i did in the far right shape in the image above.
Extra tip:
You could also, let’s say draw or download some more interesting shapes and make them pattern custom brushes. For example, I downloaded those four card symbols.

And I make them a patter custom brush. As we did with the primate shape above. Some of my results:
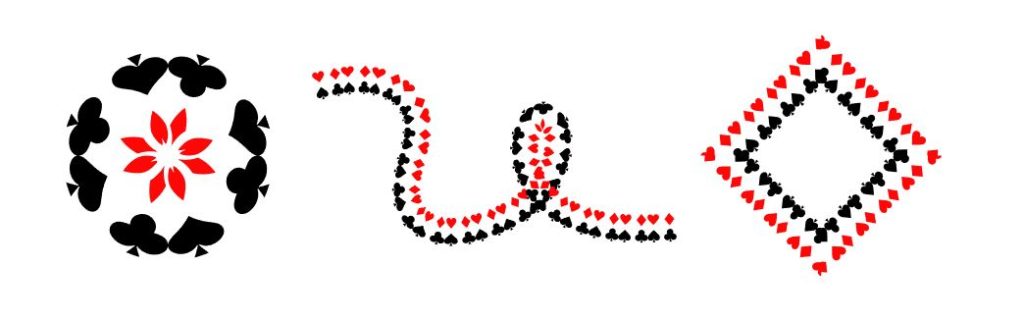
As you have learned how powerful the custom brush inside Illustrator you could make very interesting things by converting 2D into 3D artwork.
Conclusion:
As you can see, we can make a lot of things with a custom brush in Adobe Illustrator. We can also combine custom brushes with each other to make even more complex custom brushes and so forth.
As I said the process of making custom brushes is dynamic. If you change the settings for a particular brush you can choose if you want Illustrator to change all the previous draws you make with this custom brush. It’s quite flexible, and I love it.
I haven’t talked about many of the settings you can play with during the process of making custom brushes. I only cover the basics. So, you could learn more about them through experimentation.
I would love to see, with what results you came up during the process of creating a custom brush. I hope you learn new and interesting stuff 🙂
If you like the post, feel free to share it..