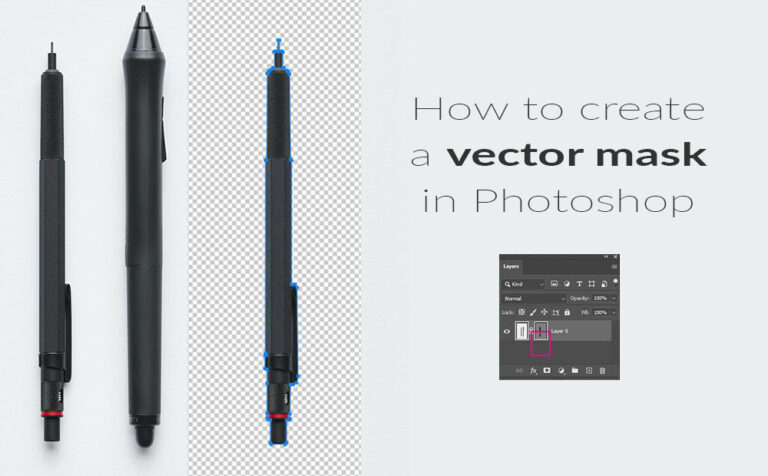
Creating a vector mask in Photoshop is not probably as popular as creating a regular mask. Despite that, creating a vector mask it gives us much more precision with sharp edges, among other things, if that’s the case.
Masking is the process of hiding and revealing information on a layer.
Both approaches, vector and regular mask in Photoshop have the same end goal. Which is to control the visibility of specific parts of a layer. The main difference is how they define that visibility.
In the next section, we can see more differences between the two approaches of masking in Photoshop.
Some interested articles about Photoshop to speed up with workflow:
- Remove background with one click in Photoshop
- Save-load selection in Photoshop
- Droplet in Photoshop (live-saver)
Vector mask vs regular mask in Photoshop (Differences):
Even Though they have the same end goal, they are quite different in the process.
Vector mask:
- they are based on a vector shape or path
- their resolution is not repented on pixels, so they can’t lose quality if we scale things up
- they are created using vector drawing tools, such as shape tools, pen tool, etc.
- they produce masks with precise, clean and sharp edges
- are editable after, which allows us to adjust the shape
Regular mask:
- they are created using pixels
- their resolution depends on pixels, so they can lose quality if we scale things up
- they are created using painting tools, such as brush tool, pencil tool, etc.
- ideal for complex masking
Vector and regular masking in Photoshop can be used either separately or combined, depending on your specific needs on the specific project. So we can have both, vector and regular mask in a particular layer, if we need to.
Create a vector mask in Photoshop:
In this example, we will work on the following image by Florian Klauer on Unsplash. With the vector masking technique we will hide the big pencil on the right.
Open up Photoshop, load your image and let’s get starting.
Select your layer in Photoshop and select the pen tool, so you can draw the shape of the left pencil to hide that right pencil, like the image below:
Note: Make sure when you select the pen tool, we have it in path mode, and not in shape or pixels mode.
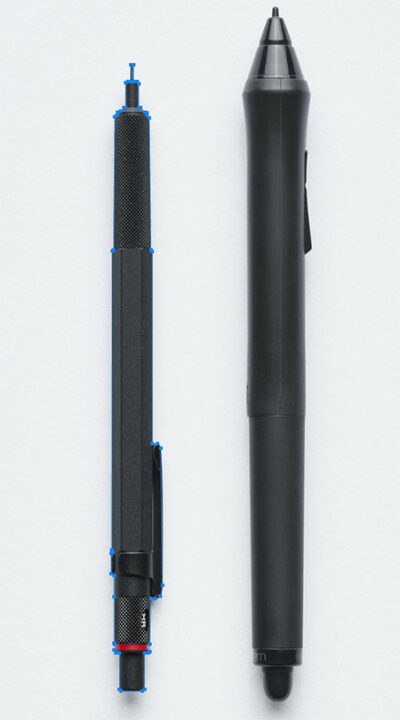
Go to the Layer – Vector Mask – Current Path. Or you can ctrl+left click on the layer mask icon in the Layer panel.
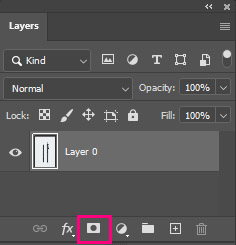
As you can see in the Layer panel, there is a new thumbnail on the right, which is the vector mask.
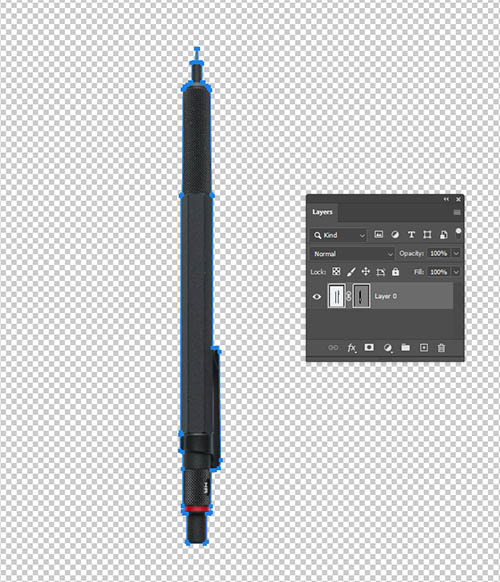
Further adjustments our vector mask:
If for some reason our drawing with pen tool wasn’t perfect to fully cover the pencil, we can further adjust it at any point.
To do so, left-click on the thumbnail of the vector mask beside the layer, and select the Direct Selection Tool (A for shortcut).
Additionally, if we want our vector mask to be softer we can do that by opening the Properties panel and playing with the feather parament:
Conclusion:
In our example in order to create a vector mask in Photoshop we used the pen tool. We can use other vector drawing tools as well.
We can also use the Custom shape tool (U), to quickly create interesting shape with no effort at all, so we can use them as vector mask.
Depending on your specific needs, sometimes the vector mask is more appropriate and sometimes the regular mask. And of course, you can use both as a combination

