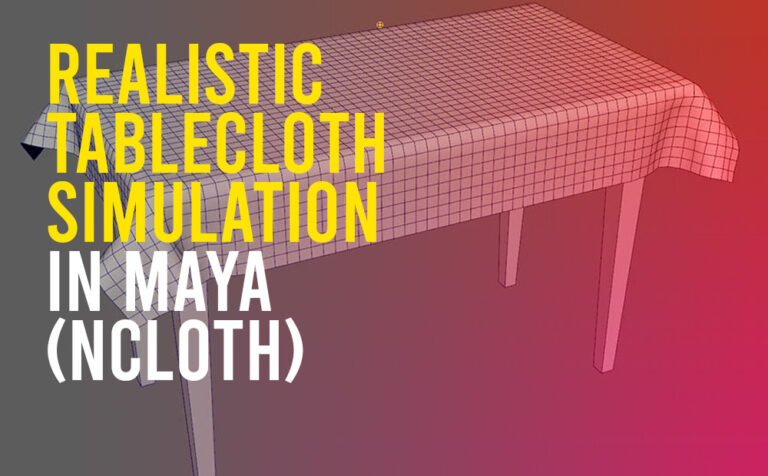
Create a realistic tablecloth simulation in Maya with the power of the nCloth engine. Pretty easy and straightforward process that can anyone grasp in under a minute.
For this to work we need only two things.
- A passive collider node (table geo)
- An nCloth node (tablecloth geo)
We can use the same technique either for animation or modeling purposes.
The animation use case is pretty much self-explanatory as you can imagine. You have a table with a tablecloth on it in your scene that moves slightly through time. Pretty basic, right!
For modeling purposes, if we want to create a tablecloth geometry that looks realistic, we don’t have to create that “organic” geometry in the traditional way (box modeling technique). We can just create a simple version of it and nCloth engine inside Maya will take care of the rest. Pretty amazing right!
In case you want to learn more about nCloth in Maya.
I have already created a simple table geometry for our tablecloth. Let’s jump to Autodesk Maya and see the process in action.
But before that, let’s create a really quick tablecloth geometry.
You can also watch the whole process from the video below:
Create the TableCloth Geometry in Maya:
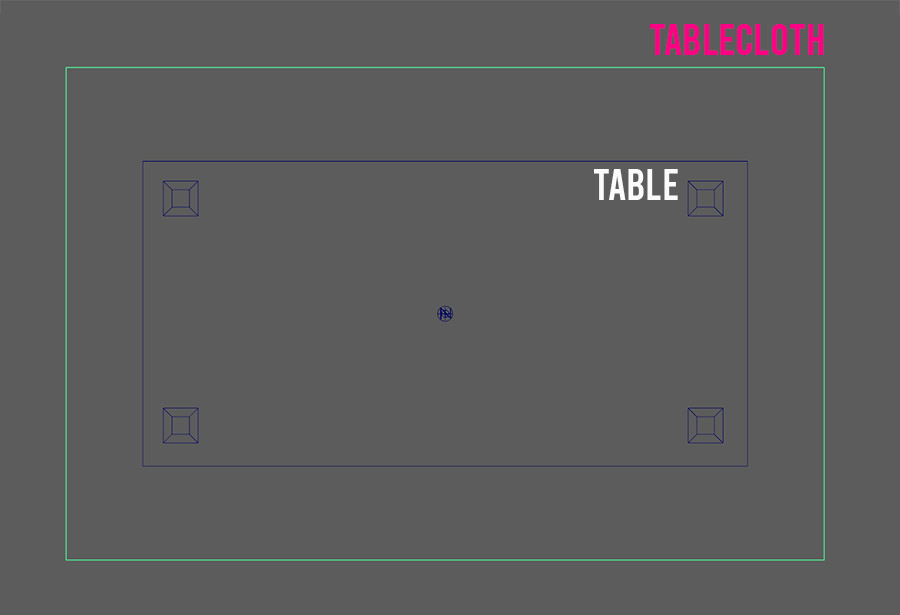
Go to the top view in Maya and create a simple plane, by going to Create – Polygon Primitives – Plane. Adjust the width and height of it, so it can be a little bigger of the surface of the table, like in the image below:
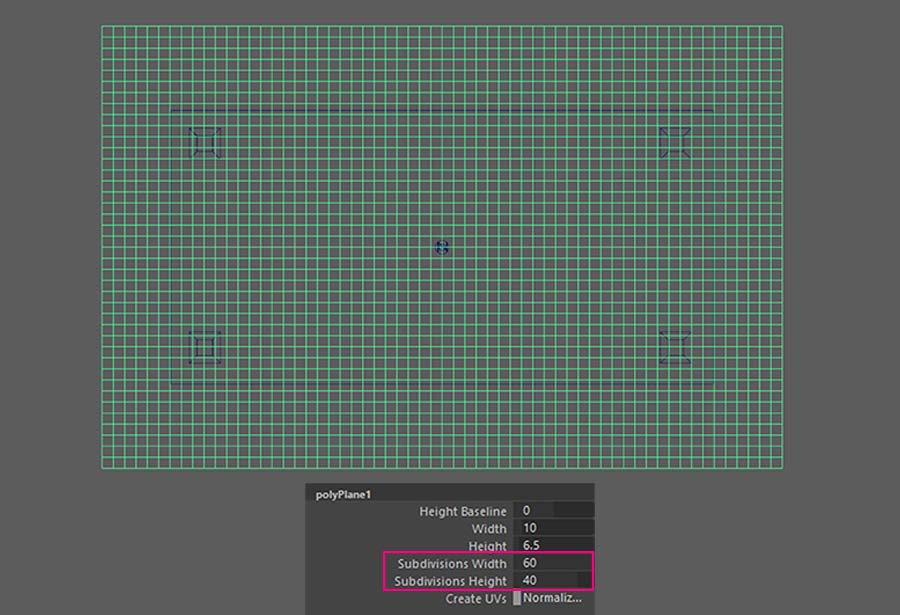
Also crank up the width and height subdivisions, around 60 and 40 accordingly. The more subdivisions our tablecloth has the more realistic it will look through simulation and as overall shape. Of course, we can go higher our numbers if we want to.
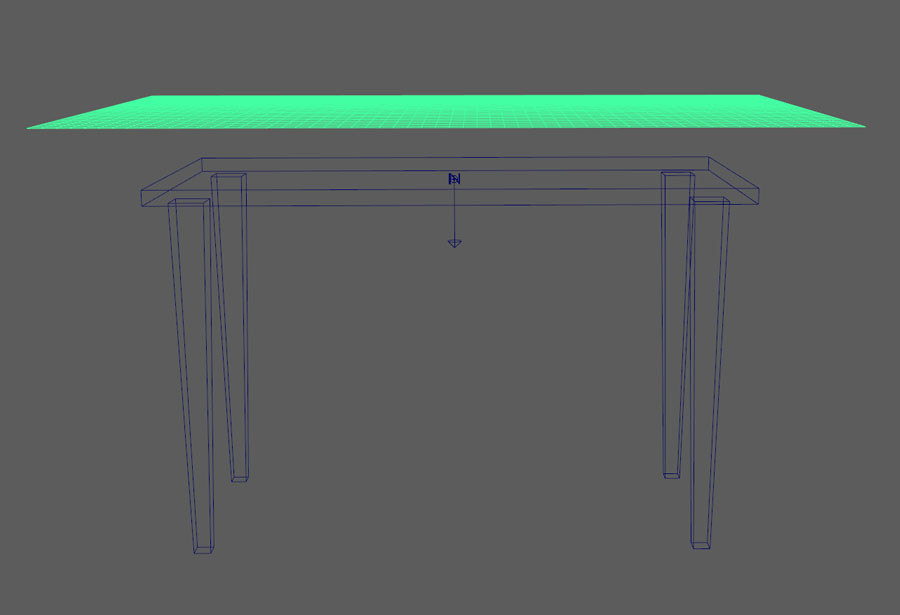
Lastly, in order to prepare it for simulation later on, let’s just move it up a bit in the Y-axis.
For organization purposes, name the new geometry “tablecloth“.
Realistic Tablecloth Simulation in Maya (nCloth):
We are going to work on this simple scene:
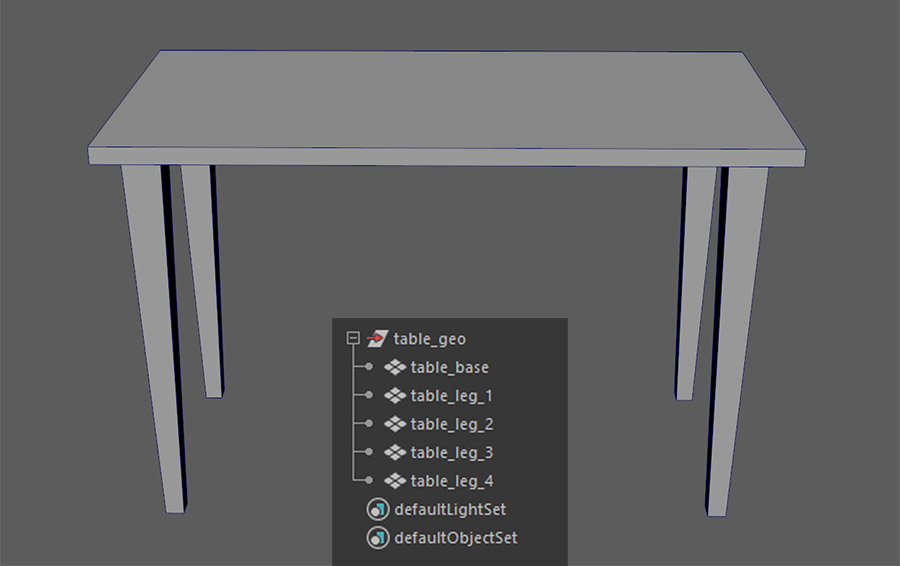
As we already said, in order to create a tablecloth simulation, we are going to need two nodes in Maya. A passive collider node for our table geometry (just for the upper part only, for simplicity) and an nCloth node.
Create the passive collider node:
Select the table_base geometry from the outliner above and go to FX module – nCloth – Create passive Collider.
After that, two new nodes were created in Outliners as you can see:
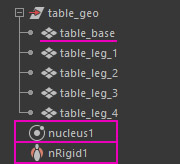
Note: The nRigid1 node contains all the physics properties for the behavior of our table when it interacts with our tablecloth geometry. We can have a great deal of control through this node by creating collision property maps. But since it’s an advanced subject it’s out of the scope of this article.
Note: The nucleus1 node contains all the information for physics, like wind, gravity, air, etc. which can affect our overall simulation. The nucleus1 node has an influence on both the nRigid1 node and the nCloth node which will be created in the next step.
Create the nCloth node:
Select the new geometry “tablecloth” we created earlier and go to FX module – nCloth – Create nCloth. A new nCloth1 node has been created in Outliner.
This node is responsible for the behavior of the tablecloth. It has a ton of parameters we can play with. Feel free to experiment with them for the best results.
For simplicity, we are going to use a preset (silk) for our tablecloth.
Select the nCloth1 node in Outliner and open up the Attribute Editor. In the nClothShape1 tab click on the Presets, and select the Silk – Replace.
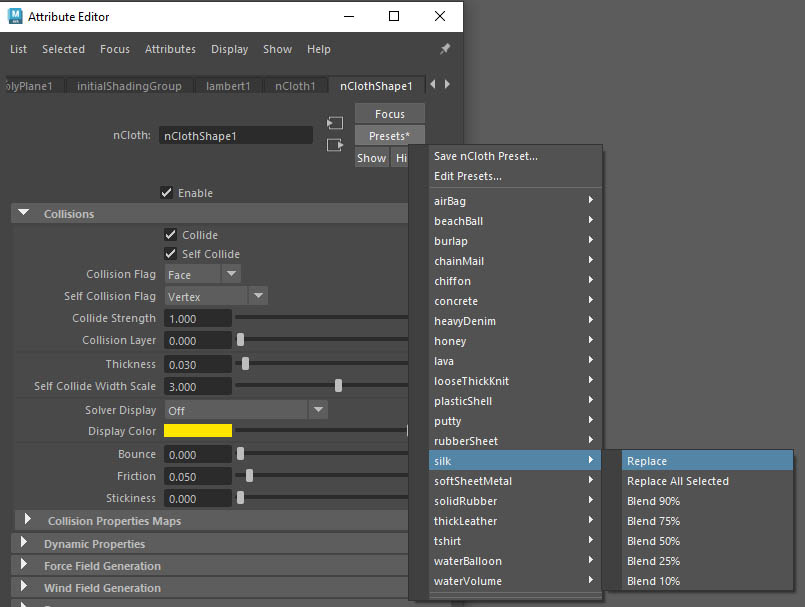
Now we can play the simulation. Expand your frame range if you need to, like 1000 frames, or even more.
Note: When you deal with dynamics in Maya, it’s a good idea to switch the playback speed to play every frame.
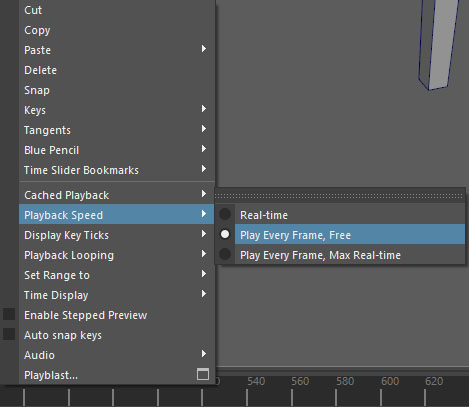
Note: The simulation speed depends on many factors, such as the subdivision level of your nCloth object, the complexity of the passive collider object, the power of your machine, etc.
After playing the simulation for about 100 frames:
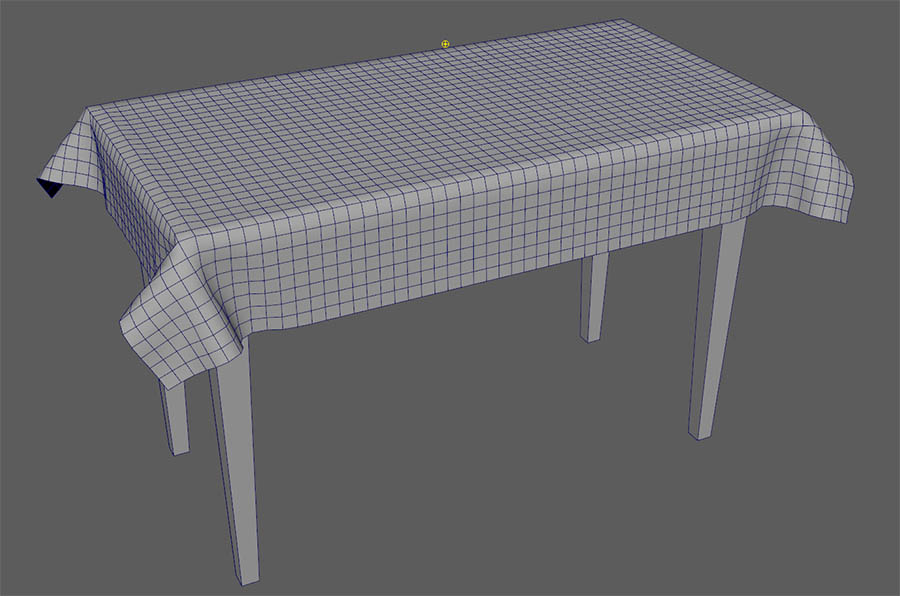
Now, if we go back to frame 0, our simulation will start all over again, which is not what we want for both simulation and modeling purposes.
In order to fix that, play the simulation and stop it where it suits you the most. After that just go to FX module – Field/Solvers – Initial State – Set for Selected. If you now go to frame 0, the simulation will start from where you set the initial stage.
Note: If you want your tablecloth only for modeling purposes, just select the tablecloth geometry and go to Edit – Delete by Type – History (Alt+Shift+D) for a shortcut.
Conclusion:
In this post, we have covered the basics of tablecloth simulation in Maya using the nCloth engine. With nCloth in Maya we can simulate pretty much anything relative to fabric materials, either by using presets or by adjusting the settings by hand. Of course, we can start from a preset and make any adjustments on the way.
As we already saw, we can use nCloth either for simulation or modeling techniques. nCloth in Maya is pretty amazing and it has many capabilities, we just scratched the surfaces of it.
In case you find this article interesting, you may find “How to create waving flag animation (nCloth) in Autodesk Maya” as well.





One Response