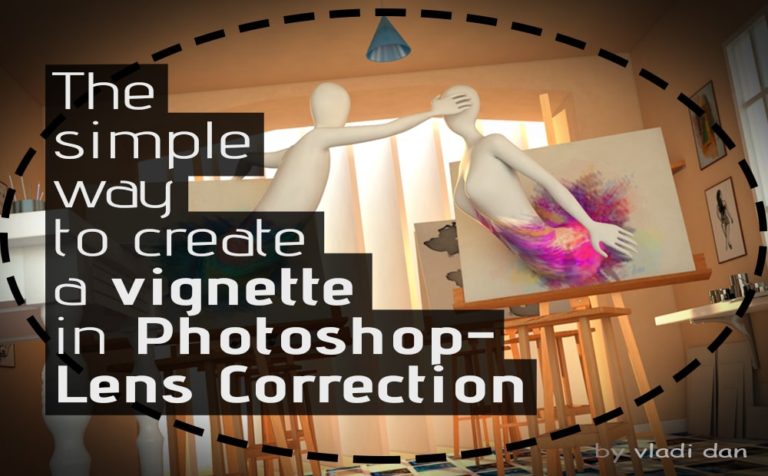
There are many ways to create a vignette in Photoshop. Some are taking a bit longer than others. And not all approach ends up with the same exact results. We are going to create the vignette effect in Photoshop with lens correction.
If you are not already familiar with Photoshop and you want to get in touch with it, you could read an early post here.
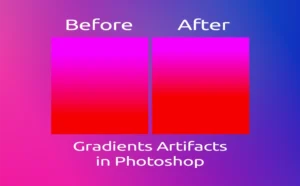
What’s vignette:
Vignette are commonly used in portraits and landscapes. It’s part of the image that fades into its background without having any border. Most of the time it has the shape of a circle around the picture.
The simplest approach, vignette effect in Photoshop with lens correction:
I think most people in the Design industry would agree that the easier way to create a vignette in Photoshop is with Lens Correction, which can be found under Filter (Shift+Ctrl+R). Considering the time, it could be just a few seconds away in order to have a vignette in your image. It’s probably the faster and easier way to accomplish vignette.
The steps:
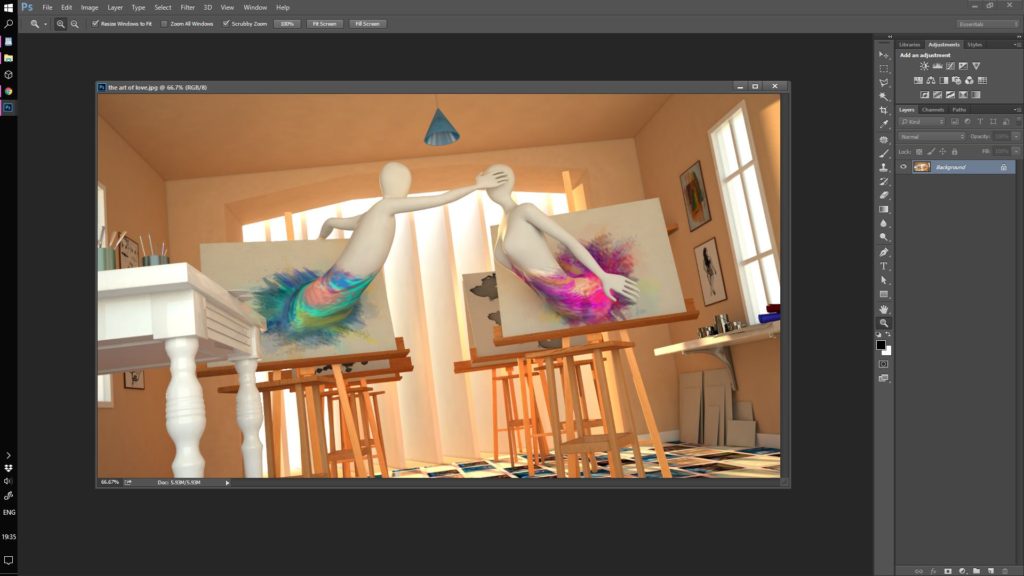
Just open your image in Photoshop, go to the main bar, and look to find Lens correction which is under the filter panel.
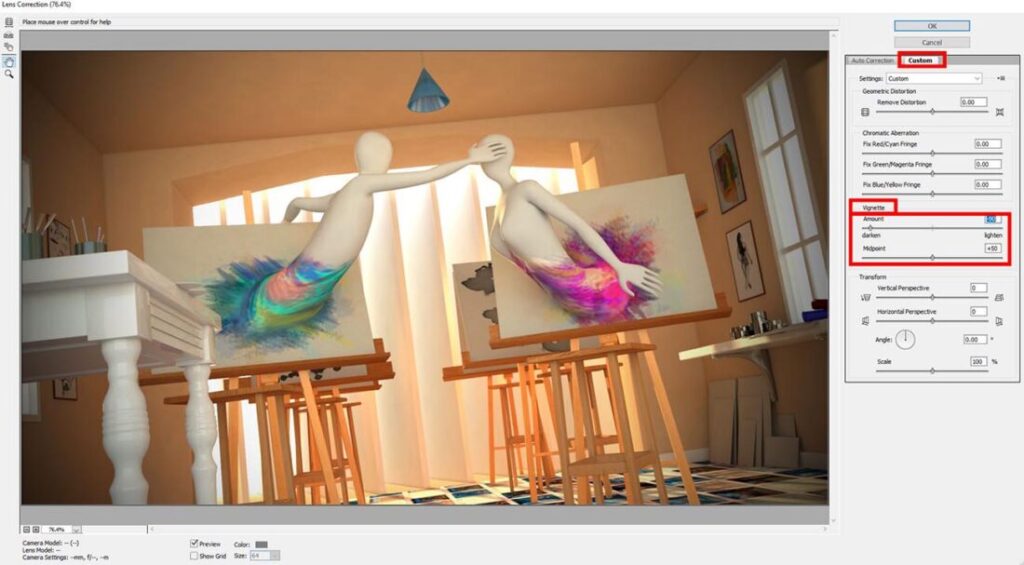
A new window appears with a bunch of features to play with. The window has two tabs on the right side, go to the custom tab. Just play with the slider in the vignette amount. That’s it, you made it. You have a vignette in your photo.
Although feel free to play with the other parameters as well, it’s part of the game after all.
Bonus approach:
As I said there are other approaches to create vignette as well. It may take some time longer to achieve a vignette style on an image.
My favorite one is with the elliptical marquee tool
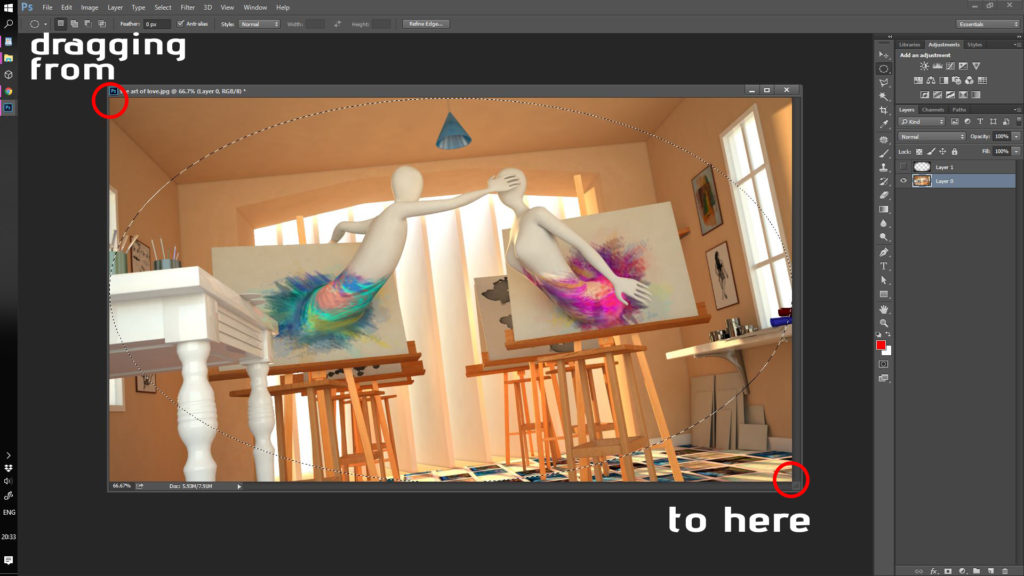
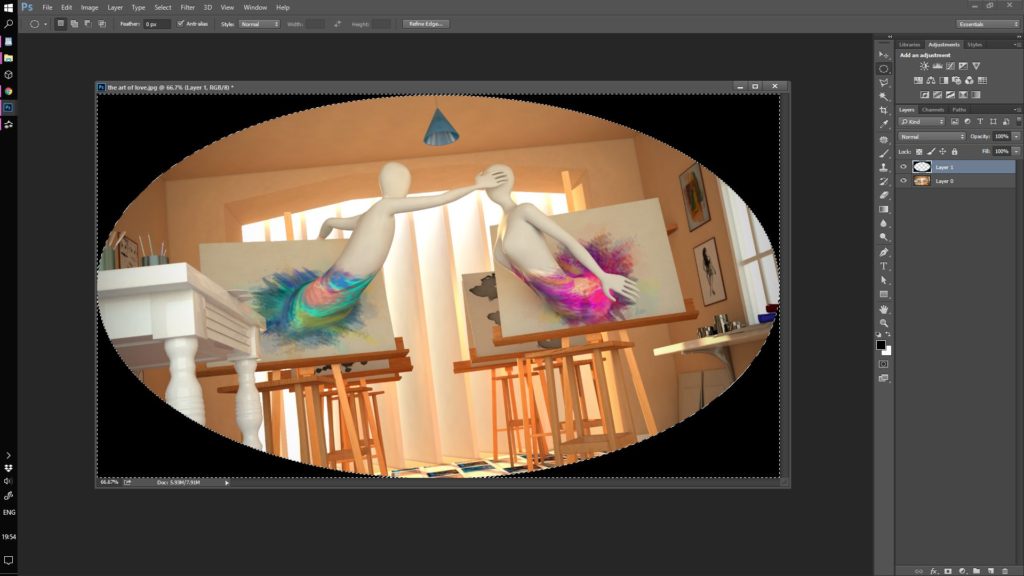
Once again, you open an image in Photoshop, select the elliptical marquee tool (m) shortcut, and make a circle around the up left, and down right corner of the image or vice-versa of course.
Then go to “select” in the main bar and press inverse (Shift+Ctrl+I). So it can invert the selection you have made which was the inner of the circle. Because you actually wanted the outer of the circle.
Select the foreground color to be black or something dark anyway.
With the selection on, make a new layer and go to the “Layer” menu and select the new fill layer and choose the new solid color. A new window popup, leave it as it is, and press ok.
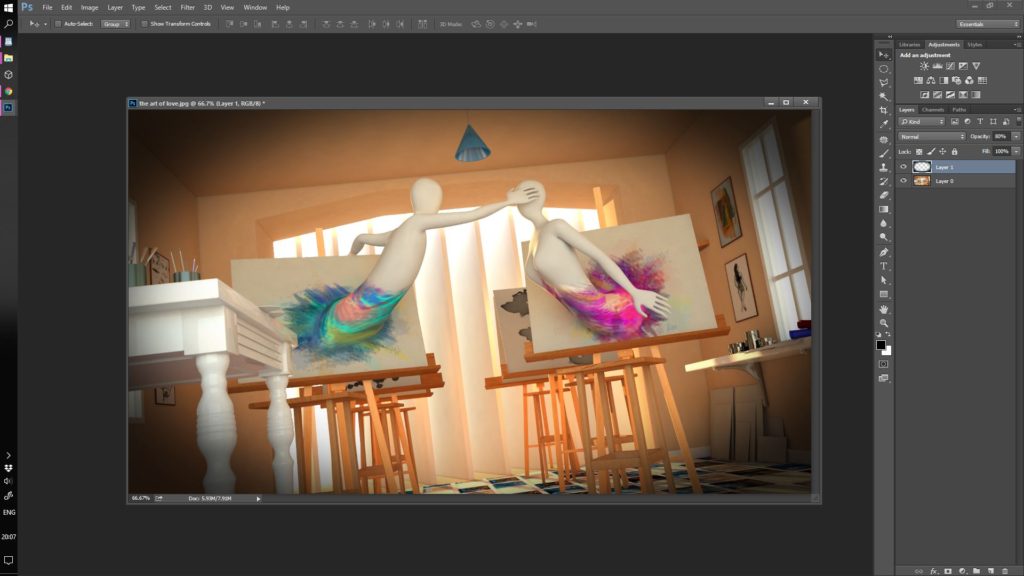
At this point, you are getting something similar to this!
It’s very close to what we are going to accomplish but something is missing. Oh yea, the vignette is something that has no borders not a hard edge in other words. That’s why it’s weird at that point.
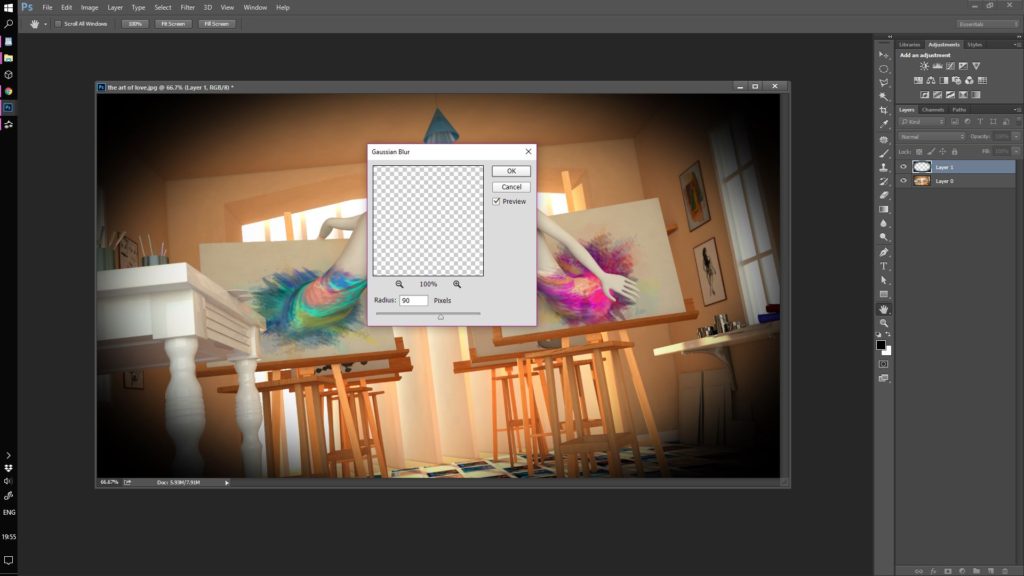
So we will add a bit of gaussian blur. Go to filter – blur – gaussian blur. New window pop-up with a single slider. Adjust the slider as you wish and press ok. In my case was 90 pixels.
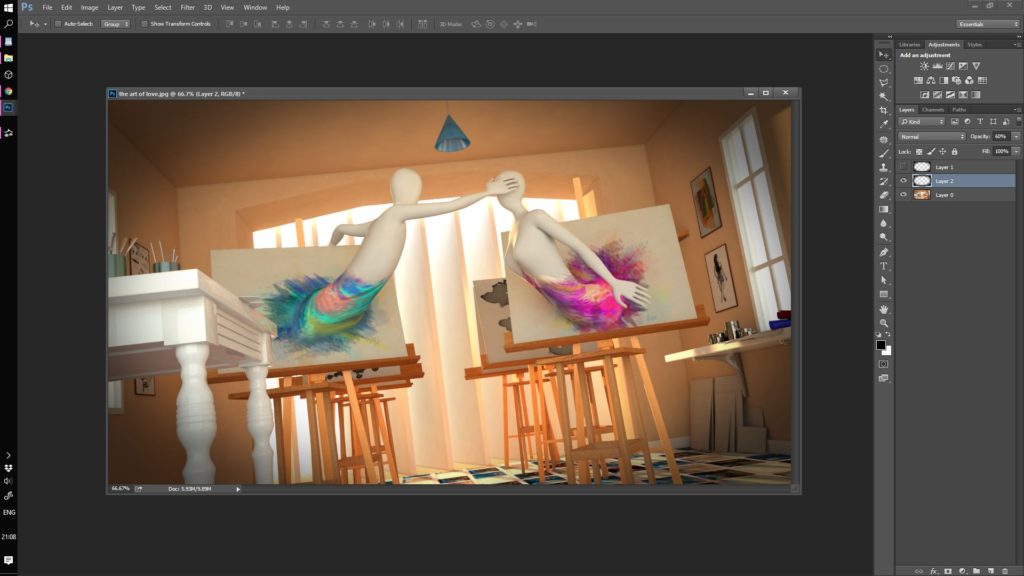
Much better. Although it’s a bit strong for my taste. So you could lower the effect with the opacity slider of the layer.
Small tip:
It’s always good practice to separate each layer from each other when there is a reason of course. In my case there was, and I knew it from the start. So, I created the vignette in a separate layer from my image to have full control over it in case I need it.
That’s all.
Conclusion:
Everybody seems to use his/her own way to achieve a vignette effect in Photoshop. There is nothing wrong with it. There are no right or wrong ways as long as the result is great.
Some others technics to achieve similar results could be to use a brush, to cover the edge of your image, to use the burn tool, and the radial gradient as well.
Feel free to take a look at another example of a vignette effect by adobe this time.
What method do you prefer for creating a vignette that has been already mentioned or you want to add to the list?