5 tips and tricks in Illustrator you have to be aware in order to speed up your workflow.
5 tips and tricks in Illustrator to save you a lot of time when you are working on any project. They could be extremely useful in order to save you some time and use that time for creation purposes instead.
Adobe Illustrator as you already know if you are a Graphic Designer, Illustrator, or any other form of designer has great power. A lot of buttons, panels, and commands. In order to master this piece of software you probably have to spend some time. To be more precise, a lot of time actually 🙂
Summary of 5 tips and tricks in Illustrator:
- Show/hide bleeds
- Use of “new view”
- Select same objects
- Multiple artboard export
- Use symbols
That’s the list we are going to explore, to make our life when we are working with Illustrator easier.
Show/hide bleeds:
Well, we all know the importance of bleeds in our documents, and more precisely the outcome if we don’t have them in our final export file (print-ready).
Note: It is critical, dependent on the concept of the graphic we are working on to set the bleeds in our document right at the start. What I mean by saying dependent, is the fact if we decide that our graphic concept will not have anything around the edges. In that case, we can skip the whole bleeds thing.
But most of the time, our concept graphic has elements or at least some colors except white around the edges of our documents. In this case, we use bleeds to protect the final output.
Let’s say, for example, we will be working on a business card. So, we start a new document and add from the start the bleeds of this particular document.

Note: For business cards, most of the time 0.3cm / 3mm of bleed would be fine.
In Illustrator the whole show/hide bleeds is extremely easy. Just go to View – Guides – Show guides/hide guides (ctrl+;) for a shortcut.
The bleeds are correlated to guides. So, it will show you the bleeds and the guides (if you use any) of your document.
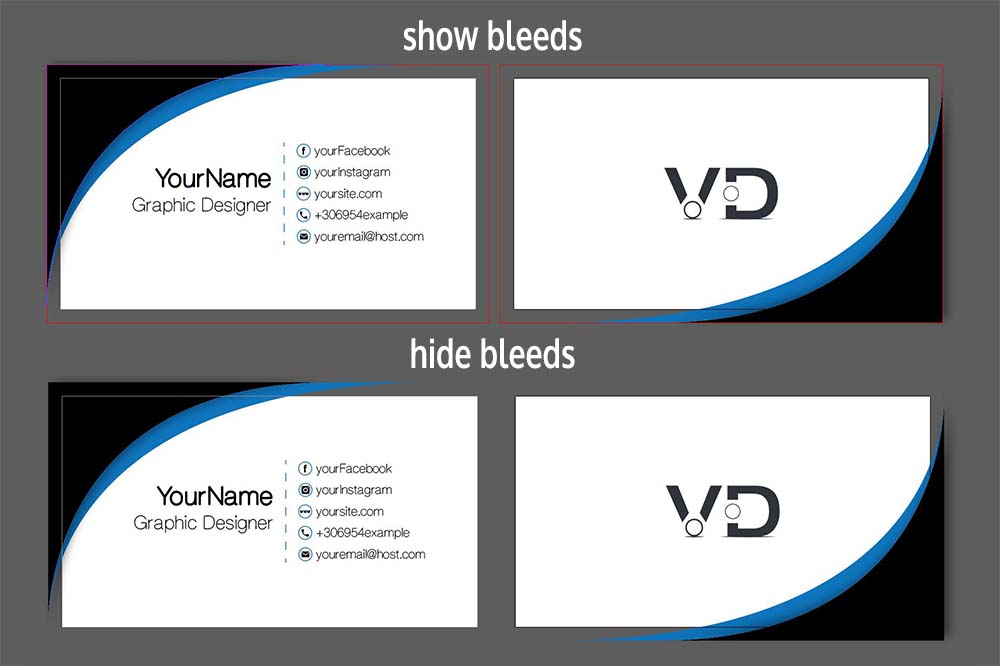
Note: The presentation of bleed is demonstrated with red color
Use of “new view”:
This tip is more for not being distracted while you are working on a project, zooming in/out all the time.
Let’s say for example you are working on the below illustration inside Illustrator.

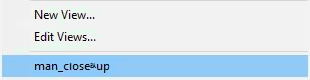
It works like a snapshot in a matter of speech. You zoom in on the area you are interested in, let’s say in man_close-up, and go to view – new view, set a name and you are good. After that whenever you want to work in that area you go to view – bottom of the list and choose the name you set previously. Automatically the document focused on the exact view you saved it.
Then you can go to another area and create another new view. You could create as many new views as you wish.
Of course, if your project doesn’t contain a lot of elements in it you likely don’t need to use it at all. On the other hand, if you have a very complex project, you going to need the new view command much more than you think.
Select same objects:
Select same object tip is extremely useful again when you are dealing with lots of elements in your project. If your project contains let’s say a few geometric shapes and some text, you may as well not bother to use it as well.
But in case you have a medium-large heavy project is quite handy, to be honest, to have this luxury.
Select same object command, as the name suggests it’s working among similar “objects”. For example, look at the image below.

If we select any pink circle and go to select – same – appearance, all our pink circles will be selected, but not the cyan circle. Because it hasn’t the same appearance as the other circle. It has a different color.
Of course, you could select some objects by other paraments as well, like blending mode, fill & stroke, opacity, etc.
Multiple artboards export:
When it’s time to export your artboard and let’s say you have multiple artboards in your project, let’s face it, it’s quite time-consuming to export them all as an individual.
Fortunately, Illustrator has a batch export option for us.
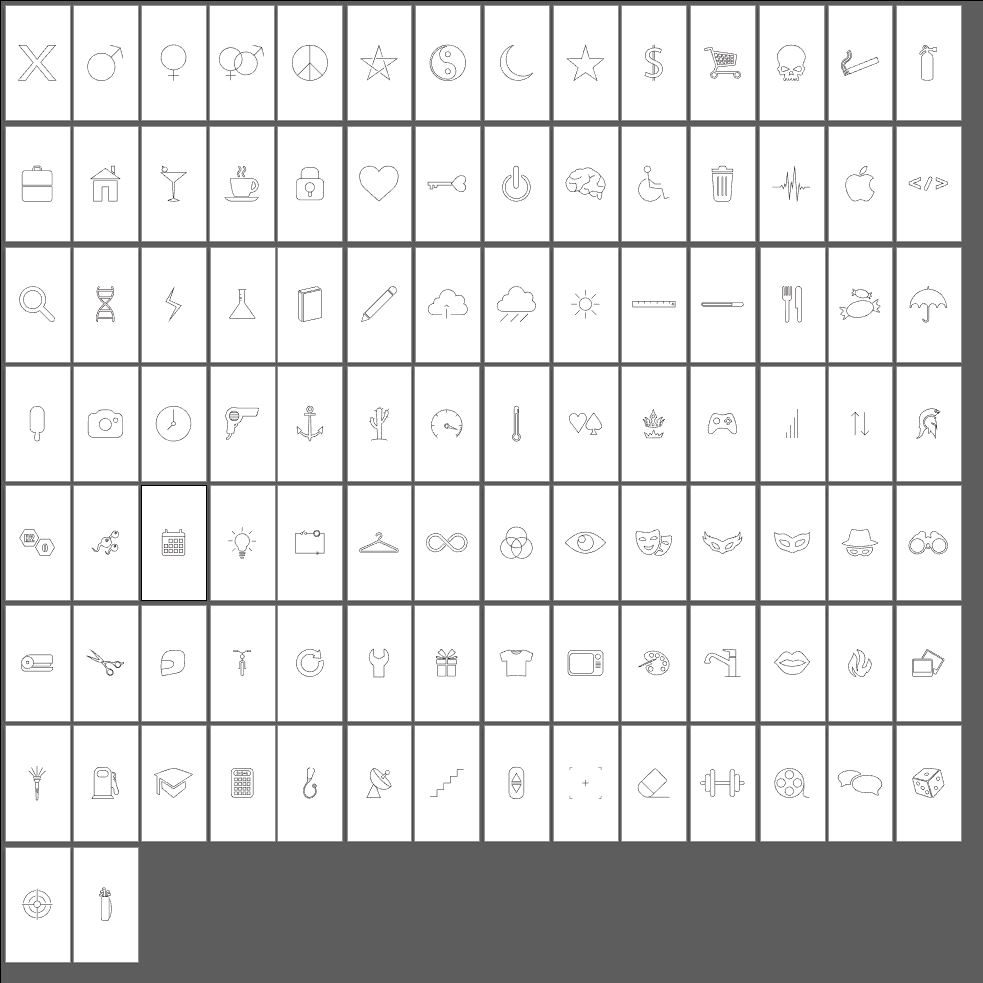
Let’s say for example we are working on an icon project with multiple icons in our document, right!
If you like the below icons, have a look here. For the original icons, you can visit here.
When it’s time to export them, we will choose the option Illustrator gives us for multiple exports instead of individual export, because we value our time, right! For this particular project, there are 100 icons. If you try to export them as individuals you want at least 10 minutes.
So, we are going to file – export, and check the Use Artboards option.
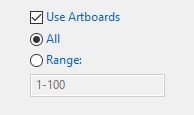
Note: After saving, you have to rename your files properly.
Use symbols:
Symbols inside Illustrator are powerful, don’t forget that. We can save a lot of time by using them in our project.
We could use them as it is, we could alter them a bit, we could combine them with other symbols, and so on.
The collection of symbols inside Illustrator is worth mentioning. With lots of categories to choose from.
So, at least in some cases, you don’t have to create from scratch everything in Illustrator. You can use pre-existing symbols instead, especially when the clock is ticking.
Also, you could combine symbols with a custom brush. Read more in the post “HOW TO MAKE A CUSTOM BRUSH IN ADOBE ILLUSTRATOR WITH EASE“
If you have any questions, don’t hesitate to ask. Hope you learn something new. See you next time 🙂


5 Responses
With your post, your readers, particularly those beginners who are trying to explore this field won’t leave your page empty-handed. Here is mine at UY8 I am sure you’ll gain some useful information about Thai-Massage too.