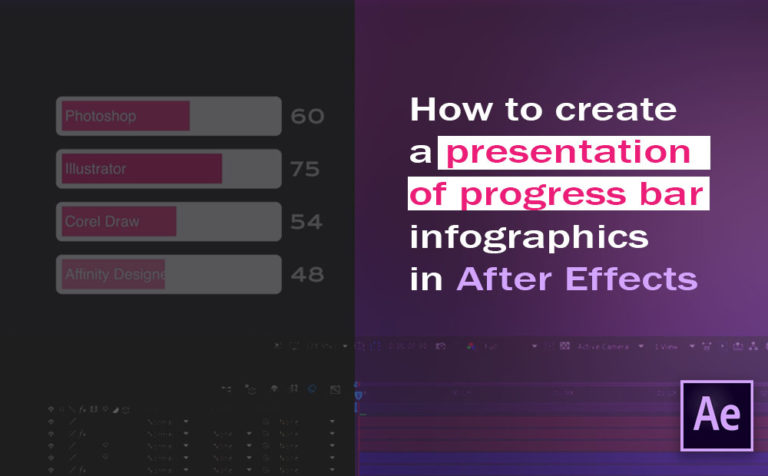
How to create a presentation of progress bar infographics in After Effects! The answer is quite straightforward if you think about it.
Variation of animation, that’s the answer. Simple right.
But before we dive into the variation of animation, we have first to create the original progress bar infographics in After Effects and give it some animation. So, later on, we can make variations of animation to create the presentation of the progress bar, we are talking about.
Luckily, we have created a single progress bar element in After Effects in a previous post “How to create a simple progress bar – infographics element in After Effects”. So we are going to continue from where we left on, to finally create a presentation of progress bar infographics.
Note: If you are comfortable creating a progress bar infographics from scratch by yourself, there is no need to check out the link above. But if you aren’t it could be very helpful. Also, there is a video in the link above for that particular reason if you are more comfortable learning by video.
A progress bar is a graphical control element used to visualize the progression of an extended computer operation, such as a download, file transfer, or installation. Sometimes, the graphic is accompanied by a textual representation of the progress in a percent format. The concept can also be regarded to include “playback bars” in media players that keep track of the current location in the duration of a media file.
Wikipedia
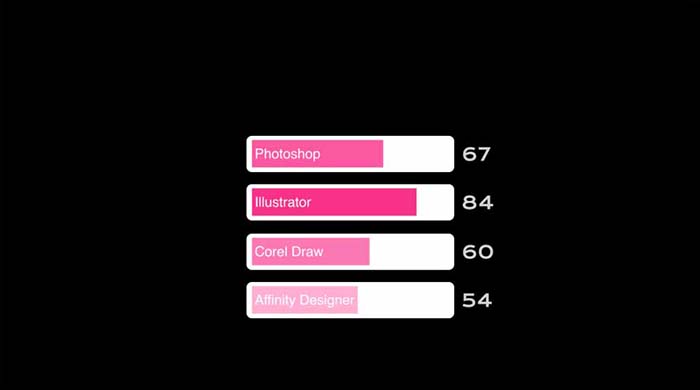
Let’s say for our example we want to present with infographics, the most used tools that a Graphic Designer uses.
So, we are going to create the following animation:
What is a presentation of progress bar infographics:
A presentation of progress bar infographics is a collection of infographics elements similar to each other with a variation of animation. There are used to present any kind of information that can be measured such as polls, elections, diagrams, statistics, etc.
The presentation of infographics, in general, has many uses. From PowerPoints to any kind of video presentation, infographics elements can be an interesting way to transmit information.
Create the presentation of progress bar infographics:
At this point as I said we have already created a single progress bar infographic in After Effects (early post), which will be used as the default element from which we will produce the variation of animation for the others progress bars, right!
Basically, the way to do that is by duplicating the default composition (which contains the original progress bar) a couple of times and adjusting the variation of the animation.
Prepare the original composition for duplication (Step 1):
Before we start duplicating our original composition, we have to make a small adjustment on the animation level. We want the progress bar to start loading a couple of frames later and not right from the start (frame 0). The reason for that is that later on, in the final composition, we are planning to have all the variation composition appearance through masking technique, and gradually appear one by one over time. So we want the extra frames in the original progress bar composition, to not overlap the animation of the progress bar element with the animation of the masking composition.
That being said, let’s get to it.
Open up the progress bar infographics project in After Effects.
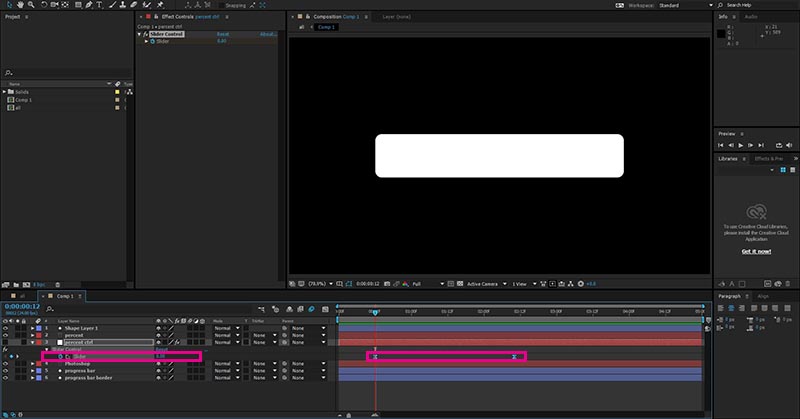
Expand the percent ctrl layer and locate the slider attribute. As we said, we want some room. So select both keyframes at once, and drag and drop them in order to reposition them a couple of frames later. Let’s say 12 frames to be precise. So the start of the progress bar, now it’s in frame 12 and ends approximately around 2:12 sec.
Rename the text layer:
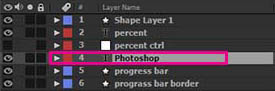
As we present in this particular project, the tools that a Graphic Designer uses the most, let’s change the text inside the progress bar to something like Photoshop. Select the “infographic text layer” double-click on it and type Photoshop.
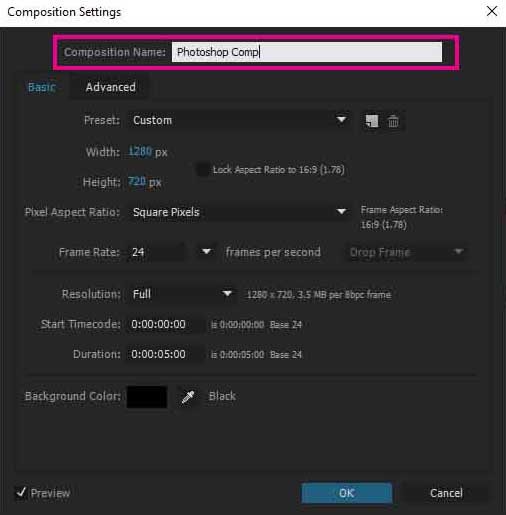
Rename the composition:
Lastly, rename the original composition to something that makes sense, for organizational purposes. Like, Photoshop Comp. Comp: stands for composition.
Duplicate the original progress bar infographic composition (Step 2):
Since we have prepared the original progress bar composition for duplication by altering the animation keys, we are ready to make the first duplication.
Duplicate composition:
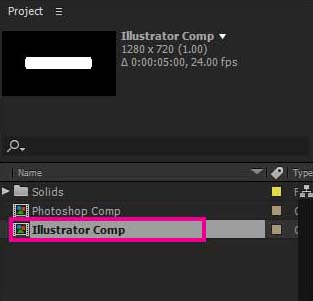
Navigate to the Project panel, select the Photoshop Comp, and press (ctrl + c) and then (ctrl + v). What we did is we copied the Photoshop Comp and paste it, in that way we created an exact duplicate composition. Rename the new composition we just created to something like Illustrator Comp.
Rename text layer:
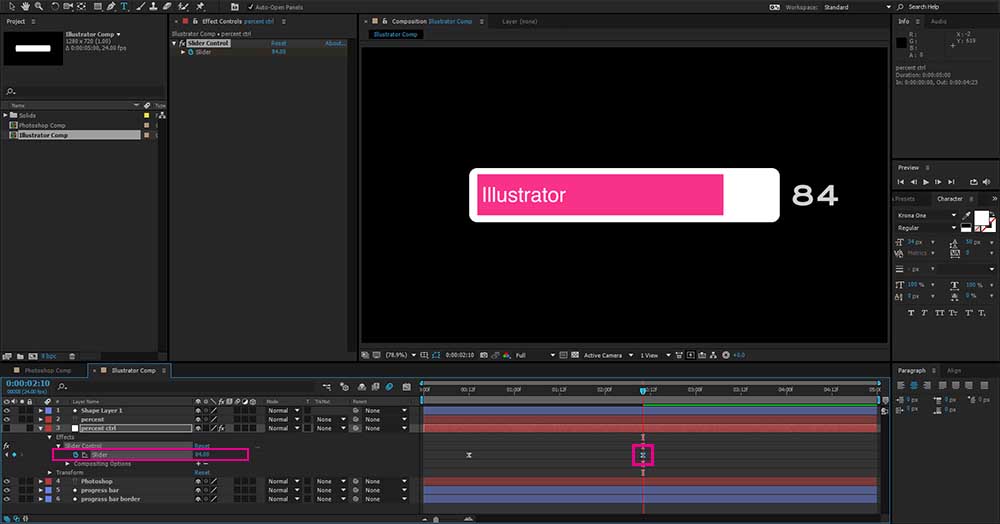
Double-click on the Illustrator Comp to open up this particular composition in After Effects. Select the Photoshop text layer and double-click on it. When we double-click in a text layer it becomes active in the composition panel, so we can alter it. Type Illustrator and press (ctrl + enter) to close the command. Also, rename the Photoshop layer in the layer section to Illustrator, for organization purposes.
Change the percent of animation:
As we said, we want a variation of animation for our presentation of progress bar infographics, right. At this point, we have changed one element, the “software” of been used most by Graphic Designers. We also want to change the percentage of it. Photoshop has 67%, we are going to give Illustrator slightly more, something like 84%
Select the percent ctrl layer and expand it until you locate the slider attribute. In the timeline, you can see the end keyframe is around 2:10 seconds. Go to this particular frame and set the value of the slider attribute to 84. Automatically keyframe has been added. We can instantly see the results in our composition panel.
Note: The numbers used to represent the percentages are hypothetical.
Change the color of the progress bar:
Another great way, to add a little more variation is through colors.
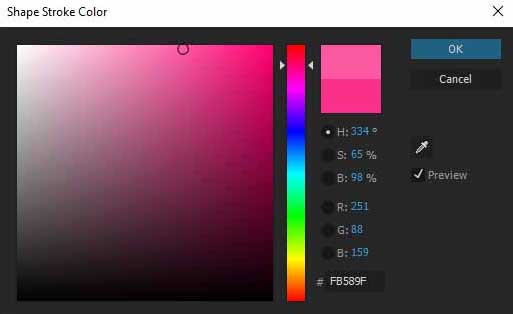
At this time, we have the colors of the progress bar for both Photoshop and Illustrator Comp, the same vivid pink. We can change them dramatically like another color or we can make them slightly different. In this project let’s make them the same color but make variations of the intensity. For example, we can say, the bigger the percent number, the more intense the color would be. And vice versa, the smaller the percent number the less intense the color.
Since so far the percentage of our progress bar in the Photoshop Comp (67%) is less than the Illustrator Comp (84%), we are going to make less intense the color of the progress bar in the Photoshop Comp.
Go to the Photoshop Comp and double-click on it. Select the progress bar layer and navigate to the main toolbar menu. Click on the vivid pink color in the stroke rectangle icon, to open up the color picker popup window and select a less intense color of pink.

So far:
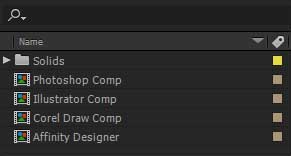
So until now, we have two compositions with different meanings (Photoshop and Illustrator Comp). I am pretty sure you are more than comfortable repeating the same process at this step, to create the other two extra compositions, before we move on to the final step, which is the appearance of one-by-one composition through masking.
Summary of duplication and creating a variation of composition:
- duplicate a composition
- change the text layer of “most used software”
- change the new percent value
- alter the color of the progress bar
Variation of appearance of our compositions through masking (Step 3):
Now we have all four compositions: Photoshop, Illustrator, Corel Draw, Affinity Designer, it’s time to create the final composition. The composition, which all the previous compositions will be in it, will all gradually appears through a simple masking technique, so the presentation of progress bar infographics can be more interesting.
Create new composition:
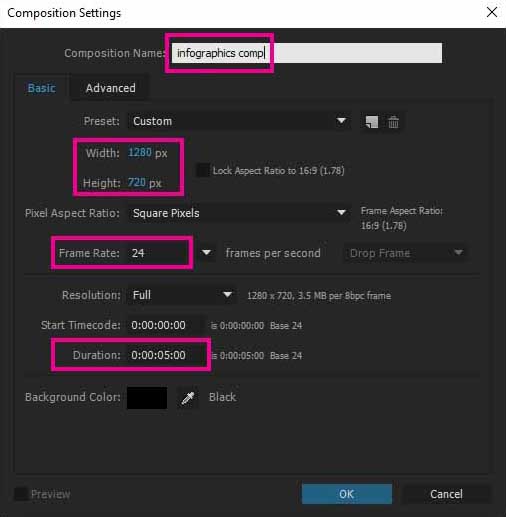
Create a brand new composition by going to composition – new composition. Set the width and height of 1280 x 720 accordingly. Also, set the frame rate at 24 FPS. Make sure to set the duration time to 5 seconds long. And lastly, rename the new composition to infographics comp.
Put everything in that new composition:
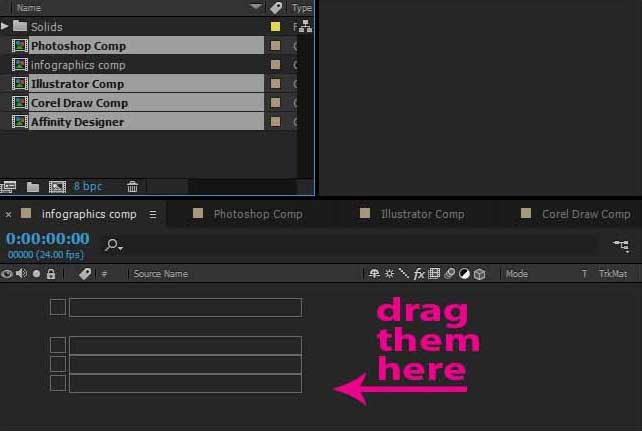
Go to the project panel and double-click the new infographics comp we just created. Select all four compositions (Photoshop, Illustrator, Corel Draw, Affinity Designer) and drag them into the timeline layer area.
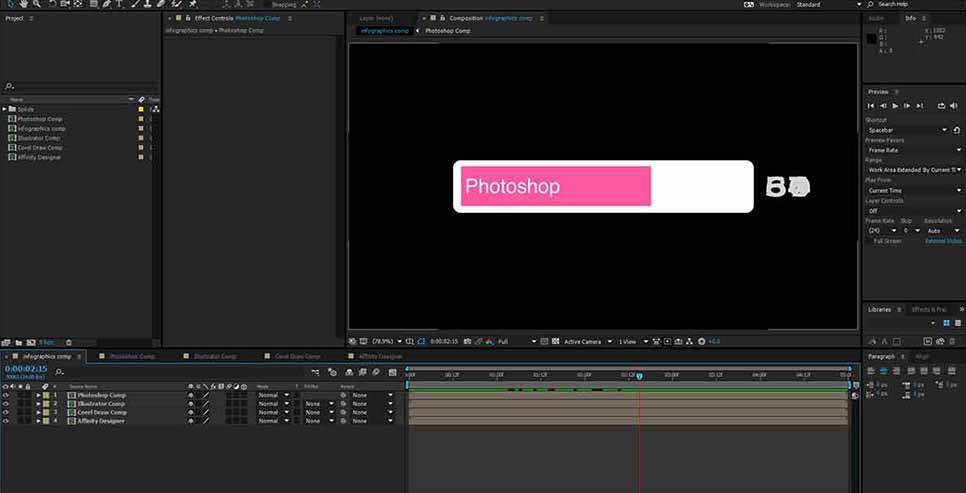
At this point, we have something like that.
Reposition and scale compositions:
Everything so far overlaps with each other. So in order to avoid it, we need to reposition each composition layer in our canvas. But before we do that, let’s really quick scale all four compositions.
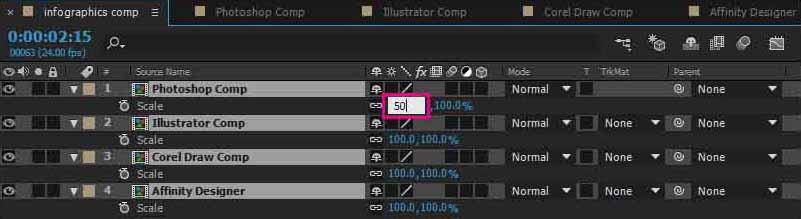
We are going to set the scale to 50%. Select all four compositions and hit the “S” key (shortcut for scale). Since we have all four compositions selected, we only need to set the new scale for one of them. The others will automatically be updated.
Now we have the scale attribute right, let’s reposition all four compositions to our canvas to something like the image below:
Note: For repositioning, feel free to use either the position attribute under each composition or by selecting the element you need in your composition panel and hitting the arrow keys on your keyboard.
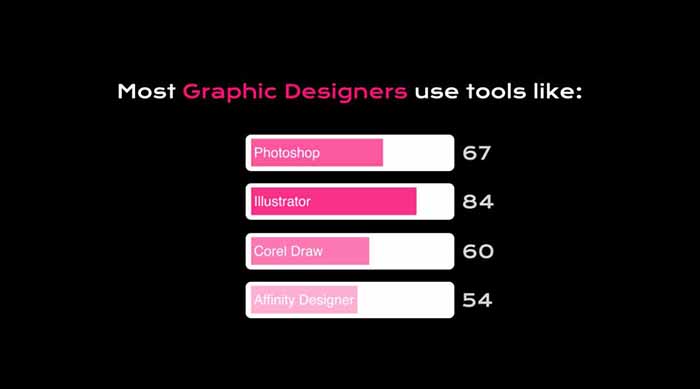
Adding a simple text for our concept:
Before we proceed to the masking technique, let’s really quickly create a new text element, by selecting the type tool and clicking anywhere in our canvas, so we can type. Type “Most Graphic Designers use tools like:”. I have chosen the font Krona One, and also I have made a small color variation in my text.
Variation through masking:
We are going to create the mask for one of our compositions and then we are going to copy and paste it into the other ones. During that process, we will add some variation to our masking animation, so they won’t be exactly the same.
Let’s start by creating the mask for the Photoshop Comp layer. Select the Photoshop Comp and select the rectangle tool in the main toolbar in After Effects. Try to create a rectangle, which can cover and a little bit extended the border of Photoshop infographic element in the composition panel, like the image below:
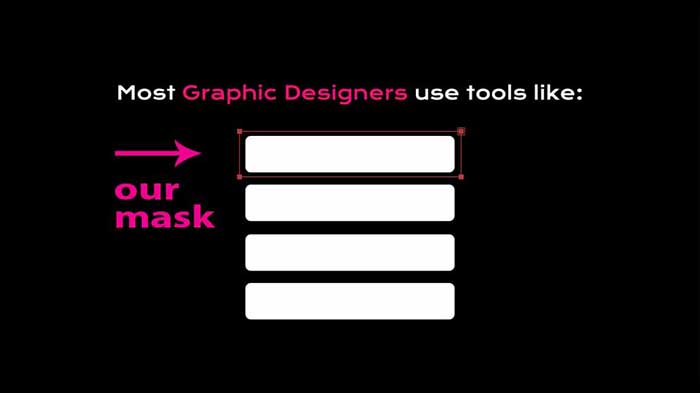
Now, we have created a mask and we want to animate it, and the way to do that is by adding keyframes to its mask path attribute. So, expand to Photoshop Comp a couple of times until you see the mask path attribute which is located under the mask 1 section.
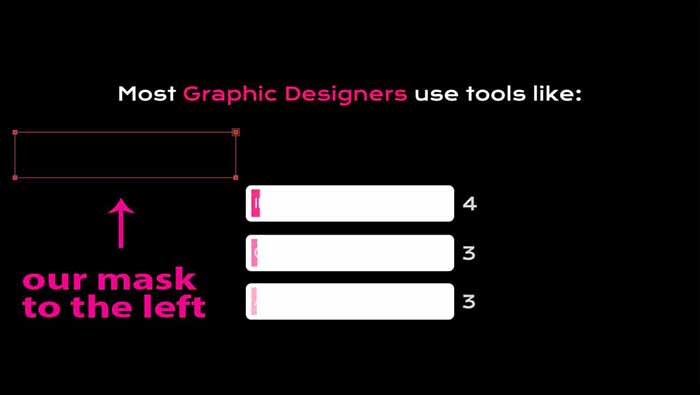
Go to frame 20 in your timeline and set a key by pressing the stop-watch icon on the left of the mask path attribute. Next, select the mask path attribute by clicking on it and going to frame 0. Try to reposition the mask by moving it to the left so you can no longer see the Photoshop Comp element. In that way, by repositioning the mask, a keyframe has been created.
Play the animation to see the results:
Copy – Paste mask:
Now it’s time to copy and paste that one mask we have created for the Photoshop Comp to the others Compositions as well. The way to do that is quite simple.
As you are in frame 0 select mask 1 which is located under Photoshop Comp and press Ctrl + C to copy the mask. Go to the second composition, the Illustrator Comp, select it, and press Ctrl + V to paste the mask. Repeat the same process for the other two compositions (Corel Draw, Affinity Designer).
If you play the animation all compositions have the same keyframes concerning the mask animation.
Variation of masking:
Select all four compositions in the layer panel and hit “m” shortcut for a mask. Now you can see all keyframes in all compositions at once.

We can make animation variations by repositioning the keyframes. We are going to leave the Photoshop Comp keyframes as they are. In Illustrator Comp, we will reposition both keyframes to the right by 3 frames. So the masking will start in frame 3 and ends in frame 23. Likewise, for the other two compositions, we will add 3 frames.

Play the animation to see the variation of masking:
Since you have grasped the masking technique, feel free to make the same for the simple text we had created which at this point does nothing.
Here is the final presentation of the progress bar infographics in the After Effects project, after adding a simple background with solid dark color and making the simple theme text have a little action as well, with the same technique of masking.
Summary:
We just created a presentation of progress bar infographic elements in After Effects with variations of animation.
Summary of variation we created:
- progress bar percent value
- color of the progress bar
- reposition appearing of masking
Another post you may find interesting about infographics “How to make a simple count number – infographic element in After Effects”


3 Responses
Helpful guide! The idea of duplicating the original bar and tweaking values like percent and color is a smart way to create a presentation quickly.