Envelope distort in Illustrator is a great tool, that we can apply to both vector and bitmap elements. Distort or reshape any selected objects, or a group of them.
Adobe Illustrator has many great features we can use in order to create our next awesome project. One of them is the envelope distort tools.
Basically, envelopes are “objects” that manipulate the shape of selected objects. Although, there is a limitation to the kind of objects that can be used. All objects can be distorted with that tool, except graphs, guides, and linked objects.
That left us, with the following objects that can be manipulated with envelope distort tools: vector elements, brushes, symbols, patterns, text, and bitmap images.
In this article, we will cover the envelope distort mesh grid.
Some other Adobe Illustrator tutorial, you may be interested:
- How to Recolor Artwork in Illustrator
- Adobe Illustrator Export Image: Dimensions off by 1 pixel
- Transfer Vector graphics from Illustrator into Photoshop
- How to fix missing linked files in Illustrator
- How to make a custom brush in Adobe Illustrator with ease
Envelope distort mesh grid tool:
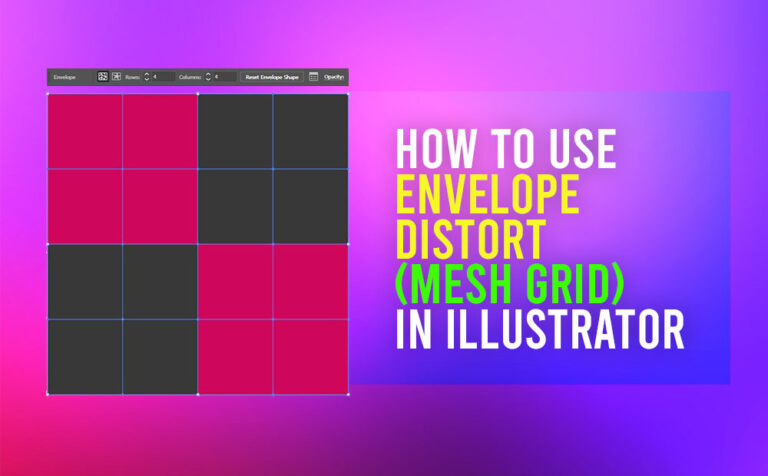
The mesh grid envelope distort tool is quite powerful and funny to play with. To get access to it, go to Objects – Envelope distort – Make with mesh..
In the left image below, we just applied an envelope mesh grid. In the right image, we just played with some anchor points, by selecting them with the direct selection tool and moving them around.
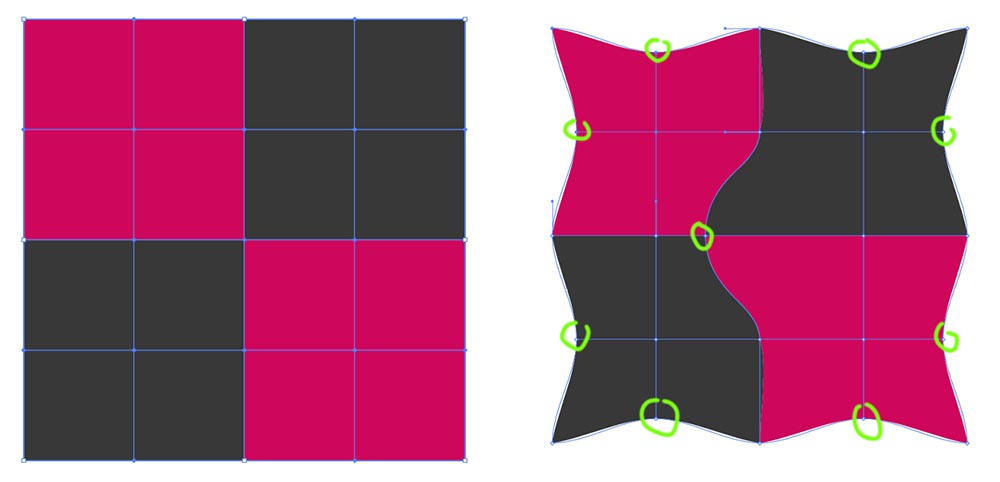
After we apply an envelope distort grid on an object, we can continue editing the original object if we want to (think about it, as a smart object in Photoshop). We can also, edit the complexity or simplicity of our envelope at any time. Of course, we can reset the envelope shape on our object, or just delete it.
We can have access to all those options, either from the main bar menu or from the properties panel (quick actions) inside Illustrator.

As we can see, working with envelope distort tools in Illustrator gives us a great deal of flexibility, which we may need during a project.
Envelope distort, mesh grid tool, a few examples:
We are going to demonstrate the envelope distort mesh grid tool in Illustrator with a few examples, such as a single selected object, multi-selected objects, pattern, text, and bitmap image.
Single selected object:
A simple example, just using the mesh grid tool. On the right is the final result.
- We started with a start shape
- applied an envelope mesh on it, with 2 rows and 2 columns
- lastly, we played with the envelop anchor points by selecting the direct selection tool and moving them around.

Multi-selected objects:
A simple multi-selected objects with the mesh grid tool. On the right is the final result.
- started with three simple circles
- selected them all, and applied an envelope mesh, with 4 rows and 4 columns
- lastly, we played with the envelope anchor points and moved them around.

Pattern:
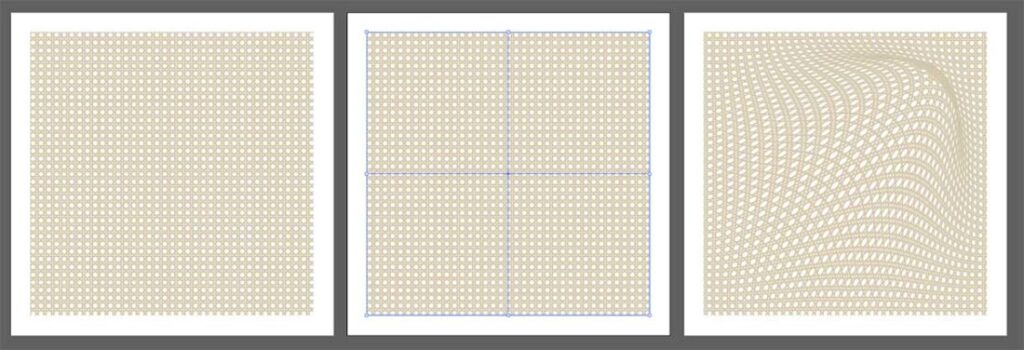
A simple pattern from the Adobe pattern library. On the right is the final result.
The same process as before.
- selected the pattern shape
- applied an envelope mesh, with 4 rows and 4 columns
- and played with the envelope anchor points and moved them around
Text:
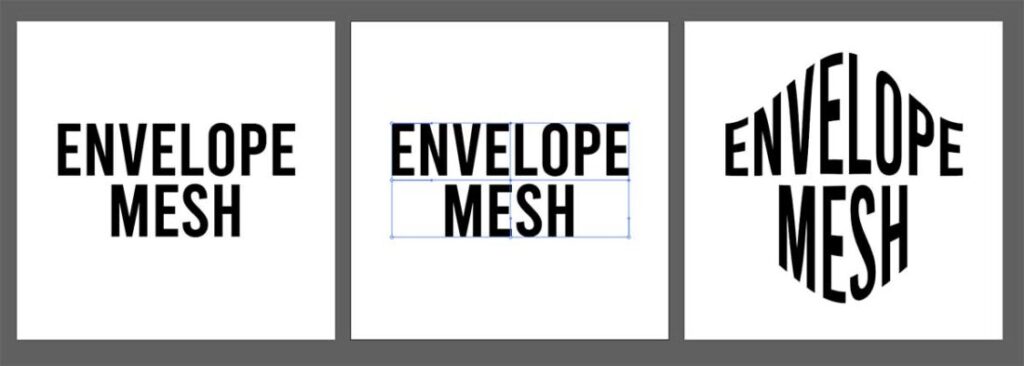
A simple text. Exactly the same process as before. On the right is the final result.
Bitmap image:
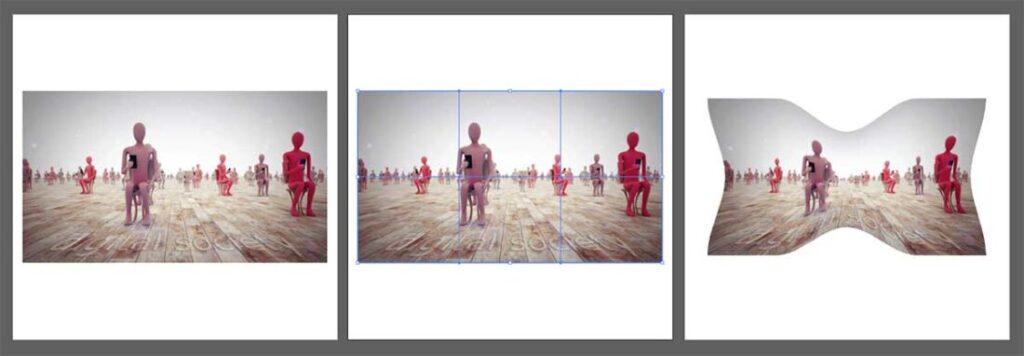
Lastly, an example with an image. On the right is the final result.
Note: In order to apply an envelope mesh into an image, we have to embed the image into our document in Illustrator. To do so, just go to Windows – Links panel, select the image you want, and click on the little three-line icon in the right corner of the link panel. Lastly, click on the embed image.
Conclusion:
As we can see, we can apply the envelope mesh grid tool in many kinds of “objects” in Illustrator, as we demonstrated with some examples.
It’s really an easy and fast way to distort an object in Illustrator.
If you want to learn more about envelope distort in Illustrator, feel free to take a look here.

One Response