Creating a procedural earth map with MASH in Maya is a powerful technique. Mash in Maya is not only a great tool for motion graphics tasks, but it’s also an essential tool for modeling tasks as well. You can save a lot of time and come up with a lot of amazing concepts while you working with Mash, which wouldn’t be the case if you working with the traditional modeling tools.
After you take the principle you can apply it to any kind of different concept you can think of, the only limitation will be the sky.
If you are not enough familiar with the basics of MASH in Maya, it will be wise to take a look at the official Maya page for that matter. Although, in case you feel like an adventure kind of person keep reading either case.
Before we jump to Maya and make all the cool things we are going to do, let me point out something important. I chose to create the procedural earth map with a heart shape. We can change our decision at any moment in the process. And of course, when we are done and finished it, we can still re-use it with another 3D shape. As you can see, there is great flexibility working with MASH, right from the start.
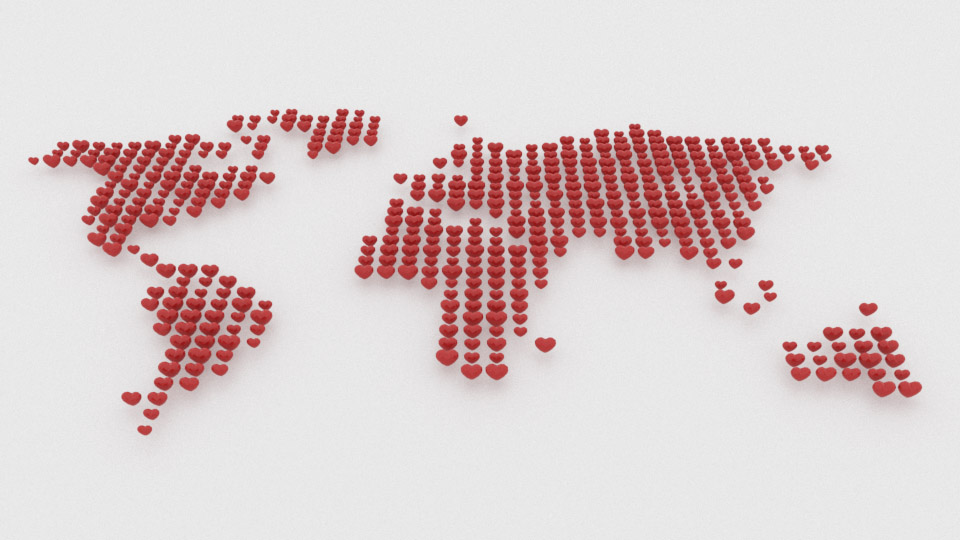
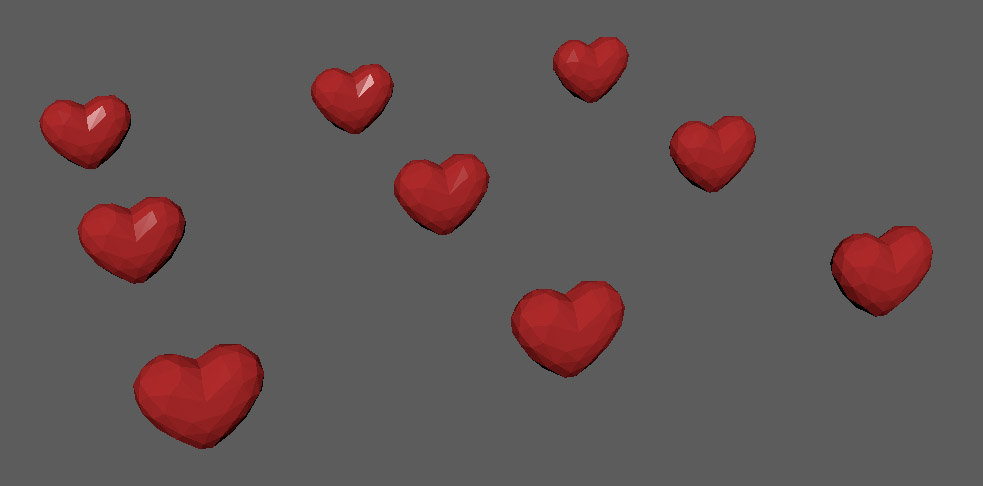
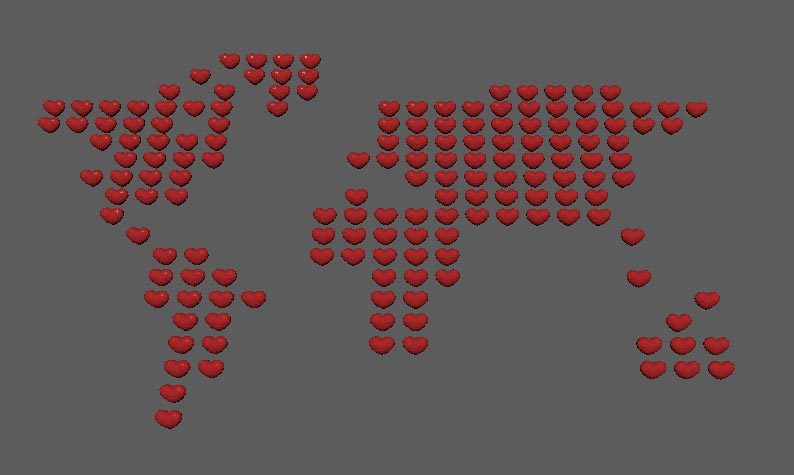
We are going to re-create something like the image below.
If you want to take a look at the whole creation plus an extra step (simple rendering with Vray), I have made a video on Youtube for you. Enjoy watching 🙂
Creating a Mash network out of a specific geometry:
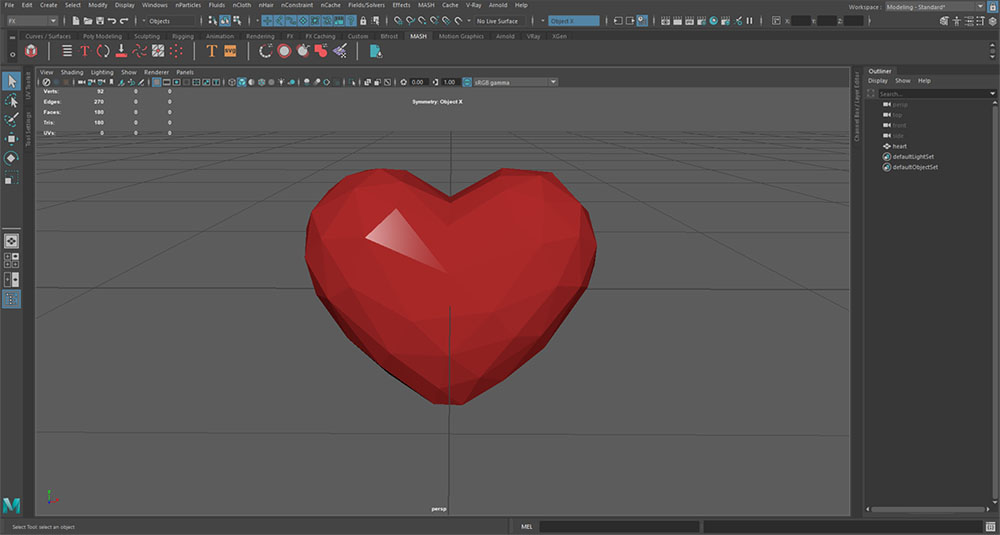
In my scene, I have a simple low-poly style heart, and nothing else.
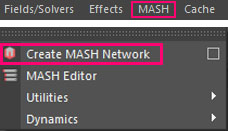
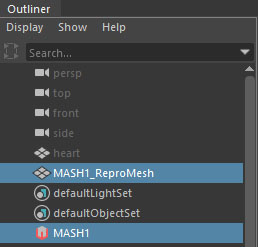
Select your geometry and go to FX or animation module – Create MASH Network. A Mask network has been built on your scene, which includes two nodes (MASH1_ReproMesh, MASH1).
Switch Mash distribute type to grid:
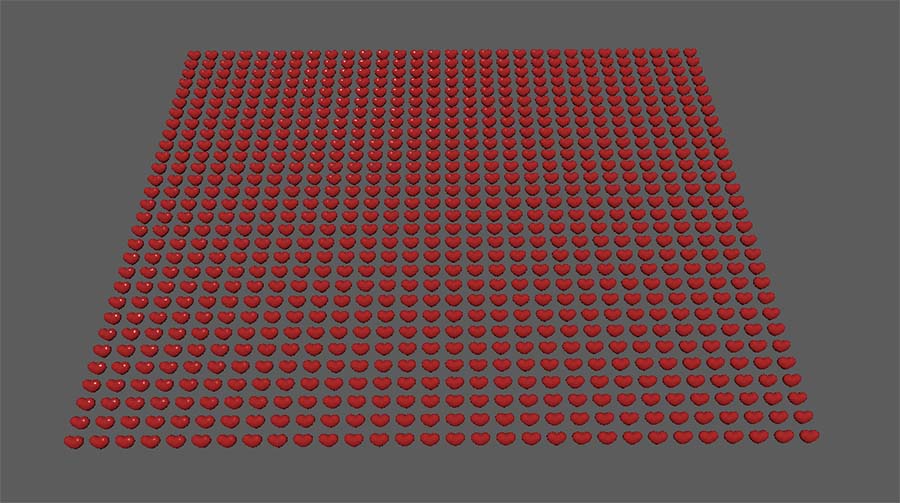
At this point we have something like this:

As you clearly see in your scene, our hearts are lined up in a row, which is not what we want for our concept. By default, the distribution type is Linear. We have to change it to grid.
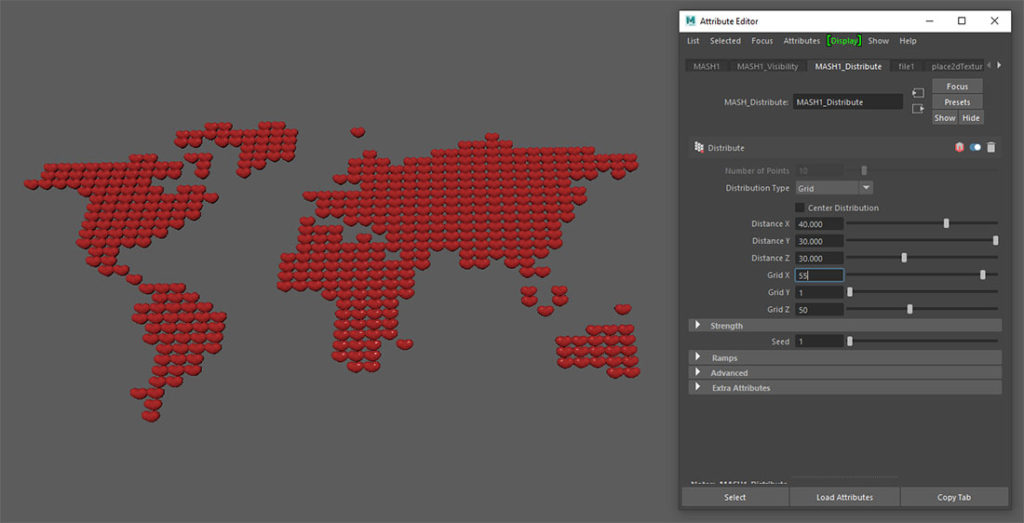
Select your MASH node and open up the Attribute Editor. Go to the MASH1_Distribute tab and in the Distribution type select the grid.
As you are in the MASH1_Distribute tab, make some adjustments, like the image below:
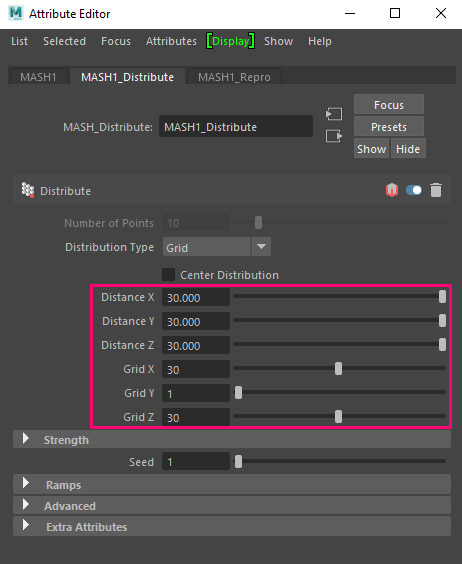
Keep in mind, we are going to revisit the numbers we have set in a letter step or as many times as we want during the whole process. The thing is because the MASH network is a procedural tool, every change we make during the process will automatically update our whole MASH network, which is great.
Add Mash visibility node, and apply a strength map to it:
Now, in order for our mash network to display the heart shape only in the areas, you want it to display them, in our case, something like an earth map, we have to add a visibility node.
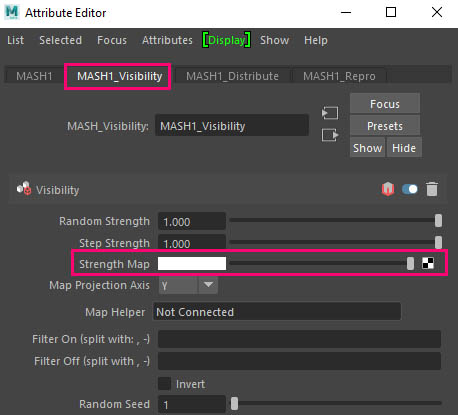
Select the MASH1 node from the Outlines and open up Attribute Editor once again. This time navigate to the first tab (MASH1). Go over the Visibility option and left-click and press the Add visibility node. Now you are in the MASH1_Visibility tab in the Attribute Editor, click on the checkboard icon next to Strenght Map, and add a file node, with a black and white earth texture map. Something like the image below:
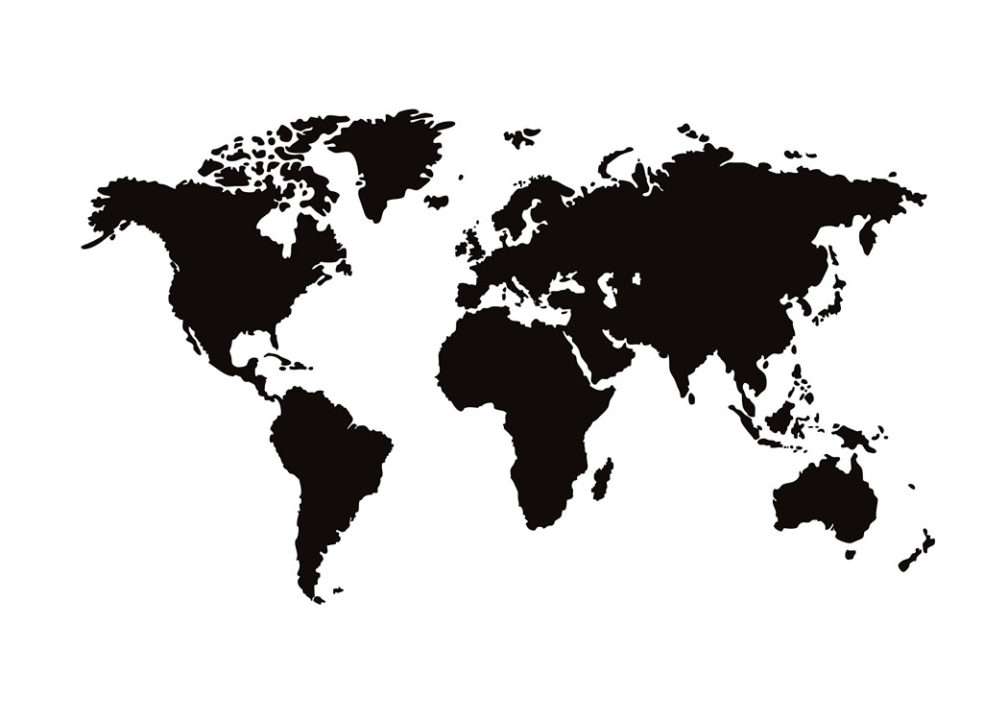
Note: It’s important for your file node, texture map to be a simple black and white texture map. You don’t want to have some gradient in it. Black means not display and white means fully display.
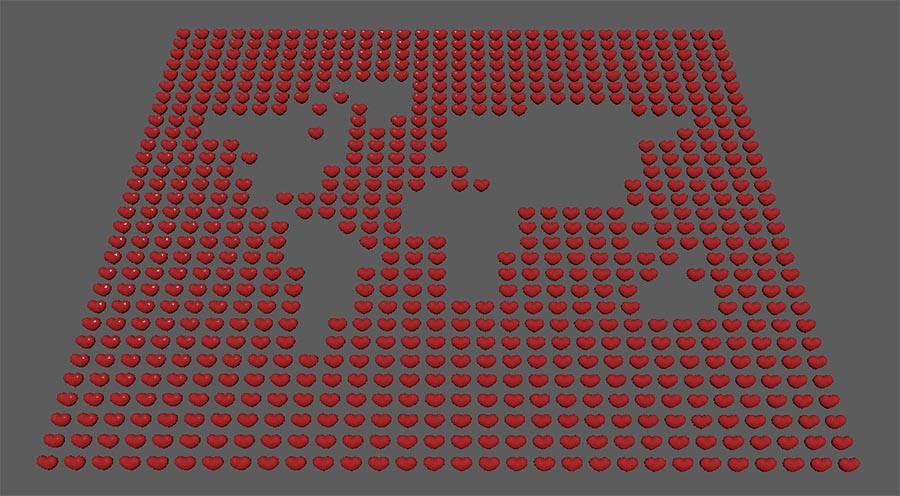
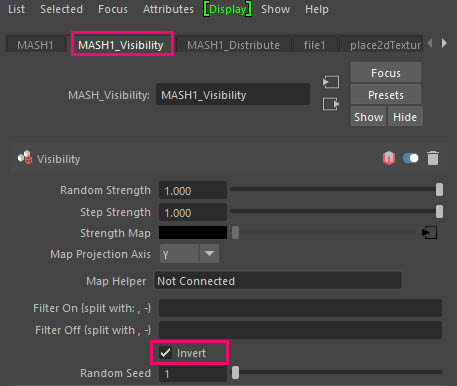
It’s not looking right, and the reason for that is that we used an already inverted texture map. Which means our black was supposed to be white and vice versa. You could fix it in Photoshop or we can just check the invert box in the MASH1_Visibility node and everything will be as expected.
At this point, we can re-adjust the numbers we set in the MASH1_Distribute tab as we said earlier. Now is looks more like an earth map. We will revisit it, probably one more time.
Add Mash random node:
At this point, every heart shape is similar to each other. It’s not necessarily wrong, but I prefer to give some variation, in the scale parament at least. And of course, the way to do that is by adding a random node in our MASH network.
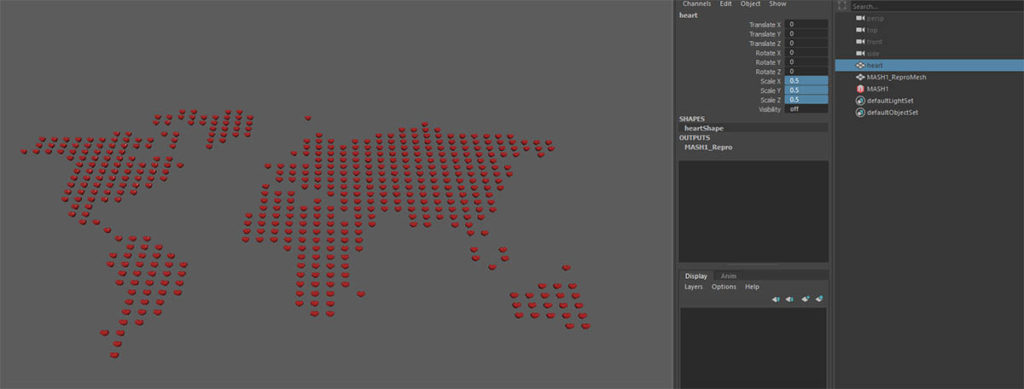
But before we do that, let’s just really quick scale down our original heart geometry divided by two in our scene. You can select your original geometry from the Outliner, open up the Channel box, and set for all three scale paraments the value of 0.5. In that way, our hearts will not be so dense.
Random node:
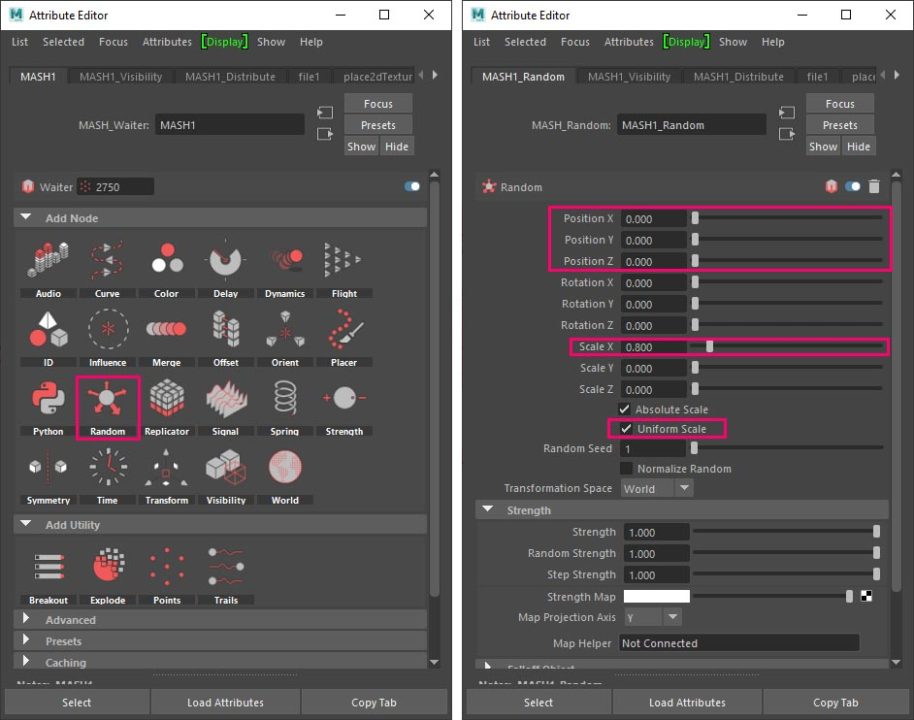
Select the MASH1 node from the Outlines and open up the Attribute Editor, and go to MASH1 tab. Left-click on the Random node and press add Random node.
Go to the new MASH1_Random tab from Attribute Editor and make some changes. Since we want only to give a variation to the scale paraments, zero out the position value. We also want a uniform scale, so check the uniform scale parament. Lastly set a value of 0.8 for the Scale X parament.
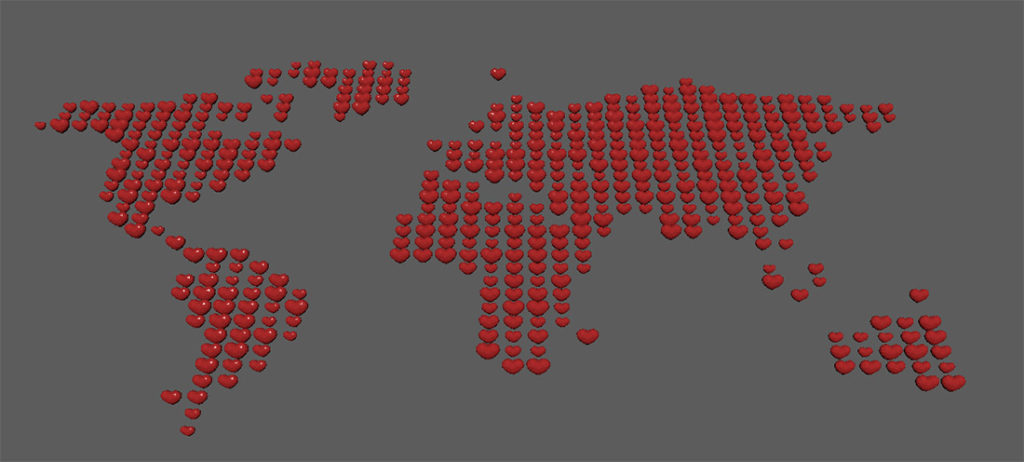
This is the final result for our MASH network in Maya.


One Response