How to export WebM video format with Premiere Pro with alpha – transparency channel! We are going to need a free plugin called WebM.
In this tutorial we are going to see, what is a WebM format, how to download and install it, and how to use it.
Before jumping in here are some creative articles about some interesting video effects you may want to try:
- Make a cool reveal intro logo with Saber plugin in After Effects
- How to create a simple 2D reveal logo animation with After Effects
- How to create a simple progress bar – infographics element in After Effects
You may also want to try to export MP4 to image sequence in After Effects.
If you are into creative stuff, you can download/buy Adobe Premiere Pro from here.
What is a WebM video format:
WebM format is a quite lite format for the web. It can also include a transparency channel, which is very handy in many situations.
What is a WebM format:
WebM is an audiovisual media file format. It is primarily intended to offer a royalty-free alternative to use in the HTML5 video and the HTML5 audio elements. It has a sister project, WebP, for images. The development of the format is sponsored by Google, and the corresponding software is distributed under a BSD license.
Wikipedia
By default, Adobe Premiere Pro has not the option to export a WebM video format. You can accomplish that by downloading this free plugin.
Note: This free plugin works both with Windows and Mac operating systems.
How to Download and Install the WebM Format:
You can download this free plugin in two ways:
- Through Adobe Creative Cloud (Desktop App)
- Through web
Although, the second method (through web), will finally lead to your Adobe Creative Cloud App, for finalize the installation. So we will be focused, to install WebM video format through Adobe Creative Cloud App.
Dowload through Adobe Creative Cloud (Desktop App:
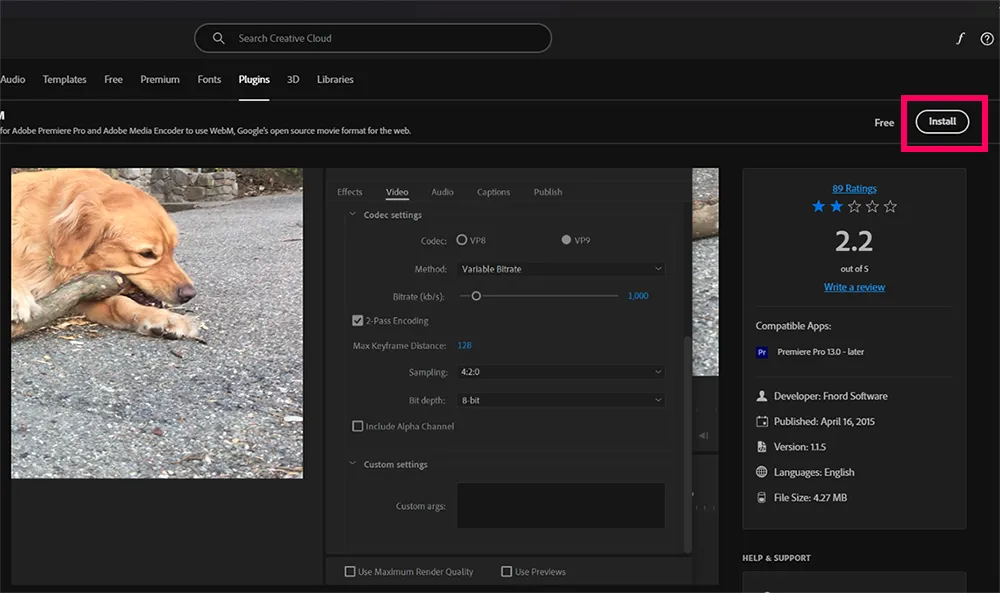
Open up the Creative Cloud Desktop App, and in the search bar, type WebM. Click on the WebM plugin.

After than, click on the Install button in the upper right corner, like the image below:
You will get the following popup window, click OK.
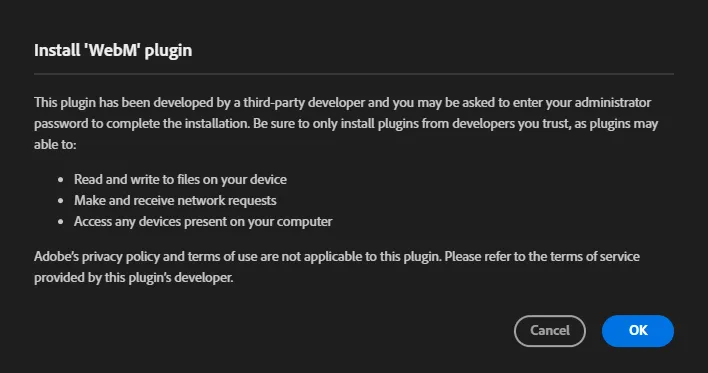
After that, the installation will begin, and will take a few seconds to complete.
The path to locate WebM plugin is C:\Program Files\Adobe\Common\Plug-ins\7.0\MediaCore. WebM has been added at that location.
Keep in mind that, now you can export a video in WebM format from both Adobe Premiere Pro and Adobe Media Encoder.
Export a video in WebM format:
To illustrate in a better way the process of exporting a WebM format, let’s see it in a real project. For that reason, we are going to export an intro logo animation with transparency in WebM format.
Steps:
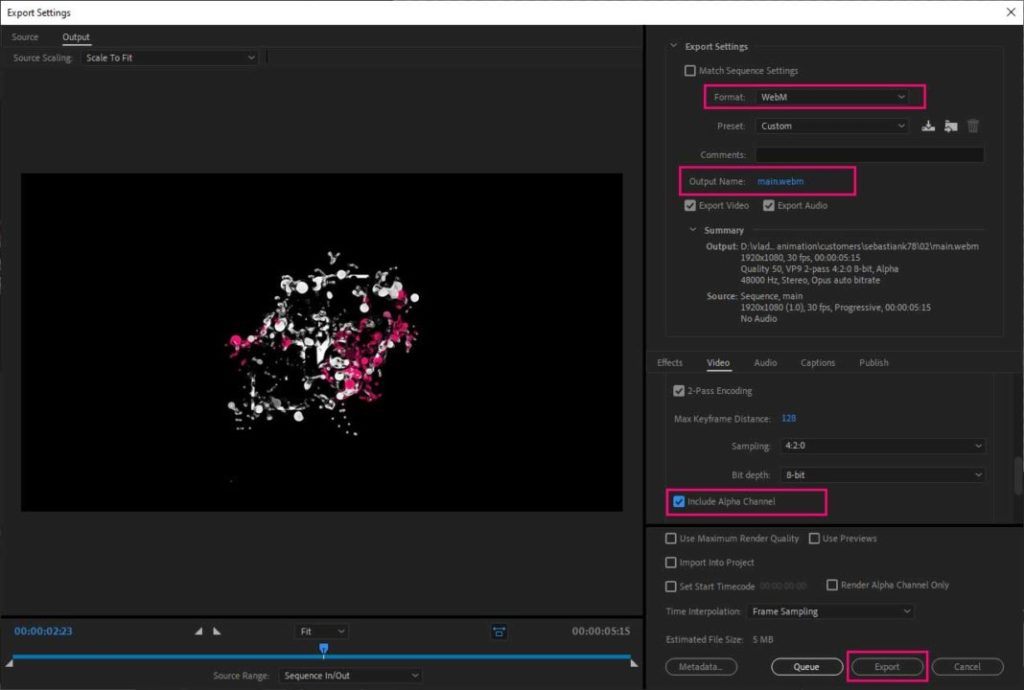
- Go to file – Export – Media
- Select the WebM format
- Make all the other necessary changes such as resolution, frame rate, code settings, etc.
- Make sure you have checked Include Alpha Channel
- Press Export
That was it. We have exported a WebM video file format with a transparency channel from Premiere Pro, which has a small size we can use on the web.
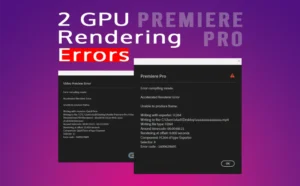
If you use two GPU rig setup you may encounter some errors you may want to take a look.
Note: Even though your new WebM format video, appears on a video player, it has no transparency at all, actually has, and you can verify it if you drop your video on a browser and make some adjustments with the inspector.
Summary:
As you can see, the process of exporting a WebM format from Premiere Pro is quite straightforward.
The benefit of using a WebM format is that is much more lite and it can include a transparency-alpha channel.
After downloading and installing the WebM format for your Adobe Premiere Pro version you automatically have also downloaded and installed WebM format for the Media Encoder as well. In that way, you can export any video as WebM format either from working inside Premiere Pro or from the Media Encoder, which is great.
You can also get a WebM format through an online conversion platform.
Lastly, you definitely need to try MOGRT files in After Effects and Premiere Pro.
Lastly, if you having trouble opening a MOGRT file in After Effects and Premiere Pro, you may want to take a look at the link.


5 Responses
Great post! This will definitely help streamline my workflow. Just wondering, are there any compatibility issues with WebM when it comes to browsers or specific platforms? I’ve heard there might be some quirks with older browsers.